Home Articles Join Now About
Official Account Opening Guide

Create Your Account With Us

A complete, screenshot-verified step-by-step guide to opening your Exness trading account through Z Trade University's official referral link — and unlocking your full suite of premium trading benefits.

Opening your account through our official partner link ensures you receive guided onboarding support, access to Z Trade University's educational tools and market intelligence systems, and a structured introduction to professional trading — at no extra cost.

30 Steps · ~20 min to complete
Updated 2025
Beginner Friendly
Click Here to Create Your Account
Why Join Through Us

Premium Benefits — All Free When You Register With Our Link

Free Paid Trading Books

Access our curated library of premium trading books — yours at no cost when you join through our link.

Free Website Subscription

One full premium website subscription included — unlock live market intelligence and all research tools.

Premium Signal Group

Get access to our premium-tier signal group — not for blind following, but for confirming your own planned trades.

3 Premium Trading Indicators

Three paid technical indicators delivered directly to you — completely free for members who join through our link.

Courses from Different Trades

Access structured courses across forex, gold, crypto, and other trading disciplines — all in one place.

20% Discount on All Courses

Receive a 20% discount on every course you enroll in with Sir Zubair. Terms and conditions apply.

Before You Begin — Read This First

Prepare these three things before starting the registration process.

  • Remove any existing Exness app from your mobile phone before starting. A clean install using our referral link is required for the partnership to register correctly.
  • Have your National ID Card ready — front and back photos must be clear, well-lit, and with all four corners fully visible. Blurry or cropped IDs will fail verification.
  • Use a new, dedicated Gmail or Yahoo email that has never been registered with Exness before. A fresh account avoids registration conflicts and keeps your trading separate.
Step-by-Step Guide

30 Steps to Your Live Trading Account

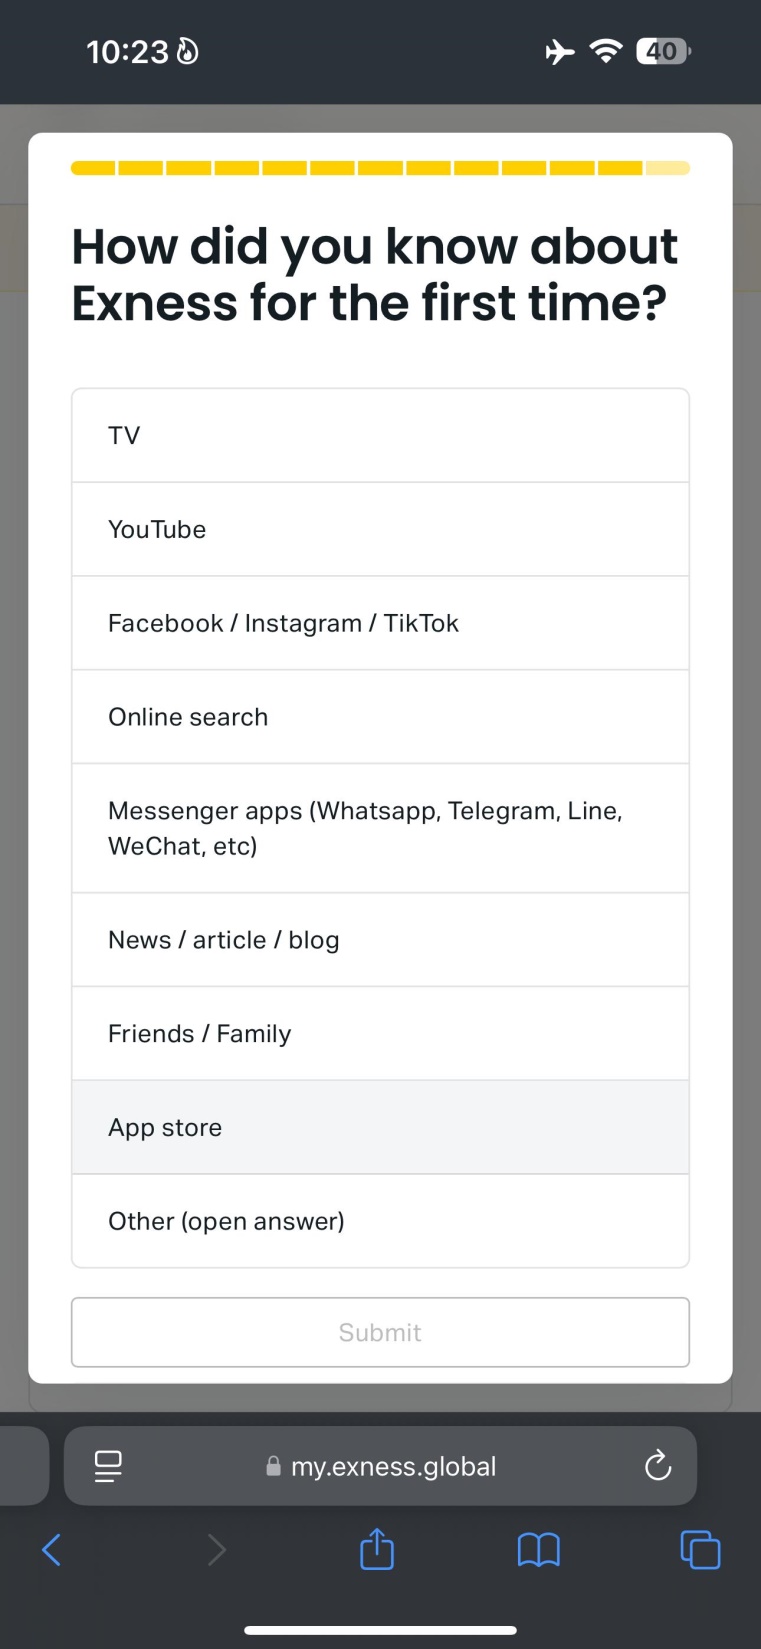
Follow every screenshot in sequence. The entire process from registration to first login takes approximately 20 minutes. Do not skip steps — each one builds on the last.

Create Your Account Now
1

Register Your Account

Open the registration page through our official referral link, enter your email, choose your country, create a password, and verify your email address. This is the foundation of your trading account.

Steps 1 – 8
01
Registration

Open the Official Registration Link

Tap the referral link provided by Z Trade University — do not search for Exness directly. The link is pre-coded with our referral ID, which unlocks all your premium benefits automatically.
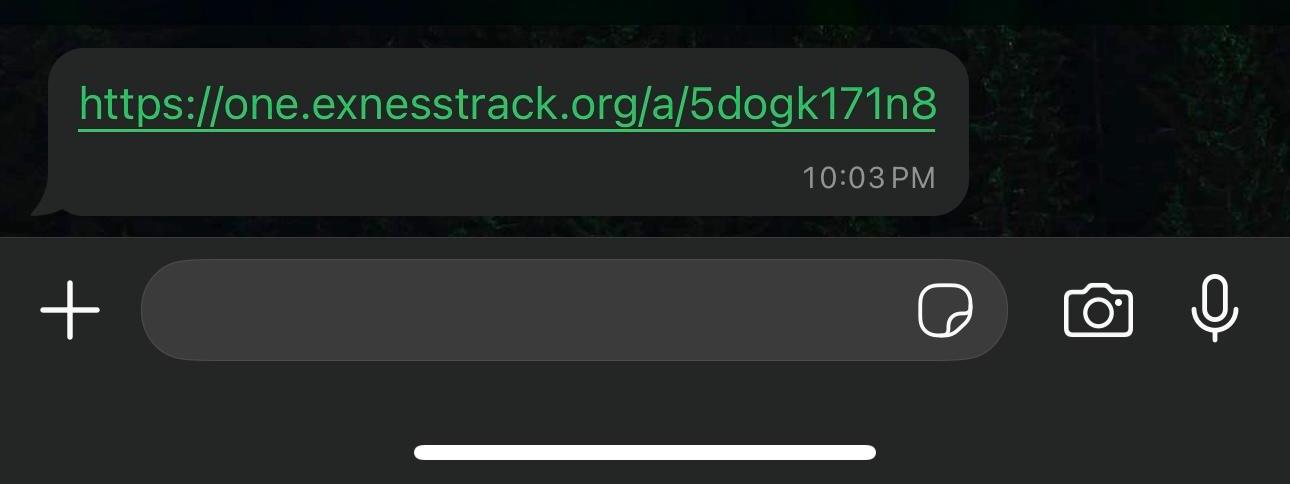
You must use our link — not the Exness homepage — for your benefits to activate.
Step 1 — Open the Exness registration link
Official Partner Referral Link
Click Here to Create Your Account
Referral Code: 5dogk171n8

Use this referral code if Exness asks for a partner or invite code during the registration process.

02
Registration

Enter Your Email Address

Type your new, dedicated Gmail or Yahoo email address into the registration form. This becomes your permanent Exness login — keep it accessible and secure.
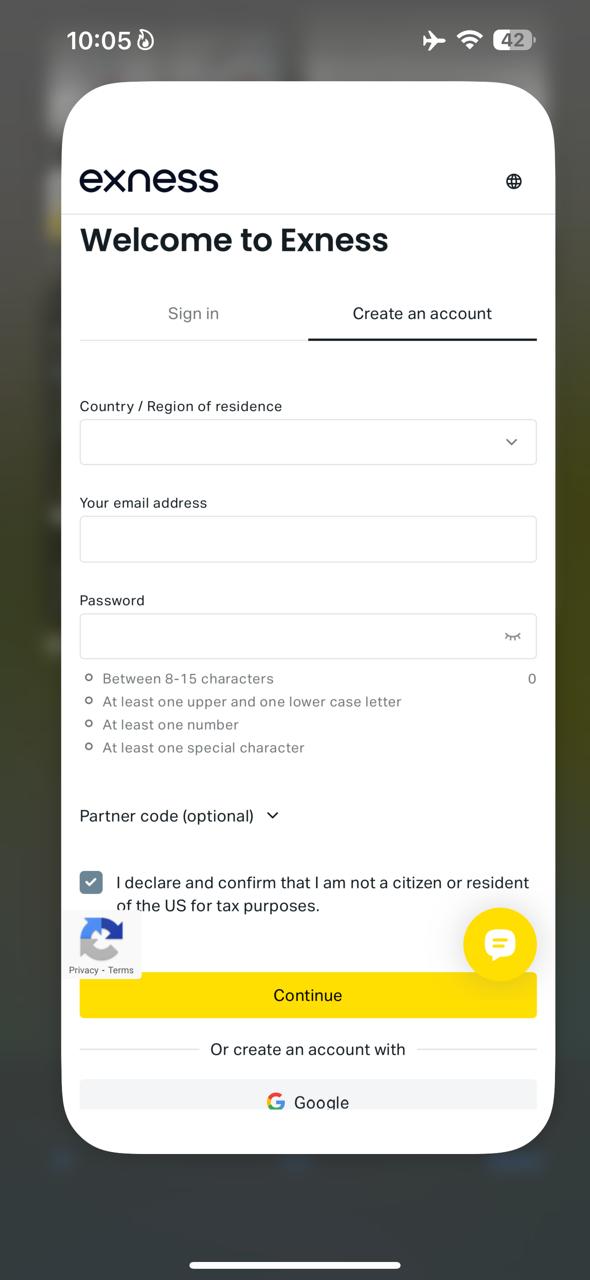
Step 2 — Enter email address
03
Registration

Select Your Country of Residence

Choose your country from the dropdown. This determines the deposit methods, local currency options, and regulatory framework that applies to your account. Select accurately.
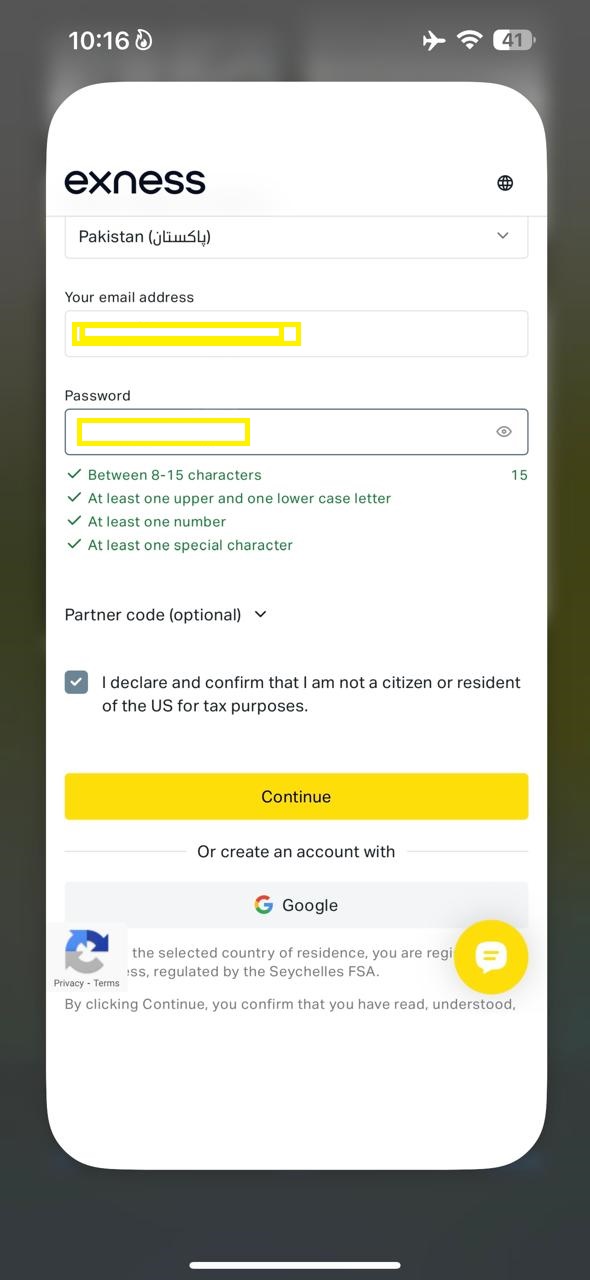
Step 3 — Select your country
04
Registration

Create a Secure Password

Set a strong password — use at least 8 characters combining uppercase, lowercase, numbers, and a symbol. Store it safely; Exness support cannot recover lost passwords.
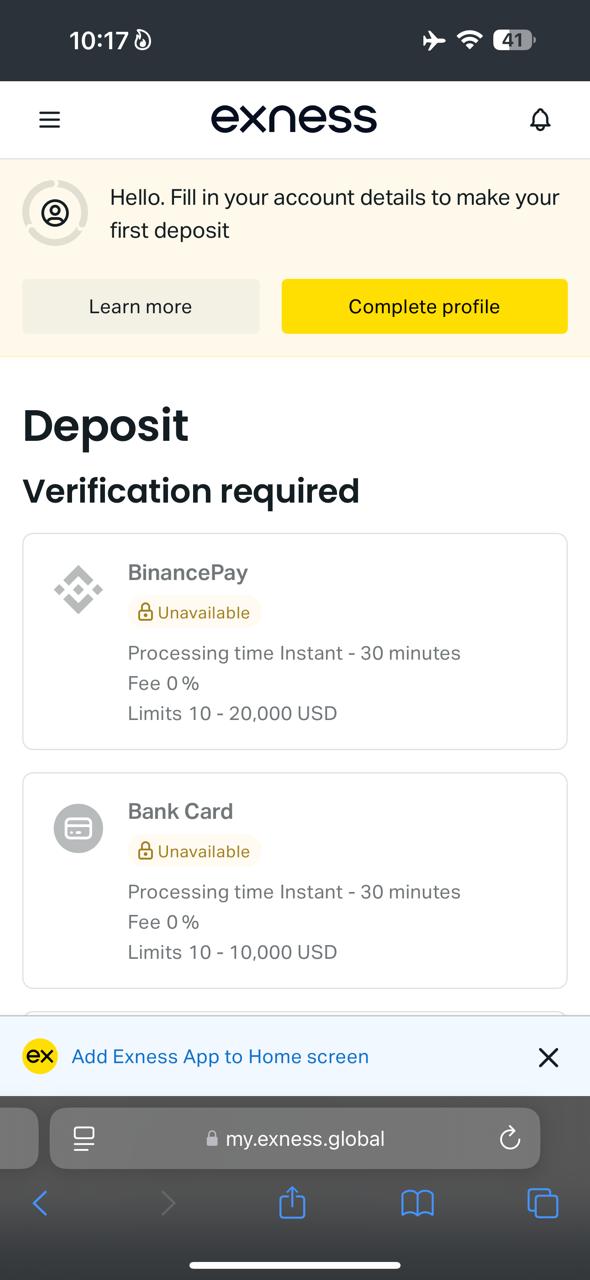
Save your password in a secure location before proceeding.
Step 4 — Create your password
05
Registration

Accept Terms & Continue

Review the terms of service and client agreement, then check the acceptance box. Tap the Continue or Register button to submit your initial registration.
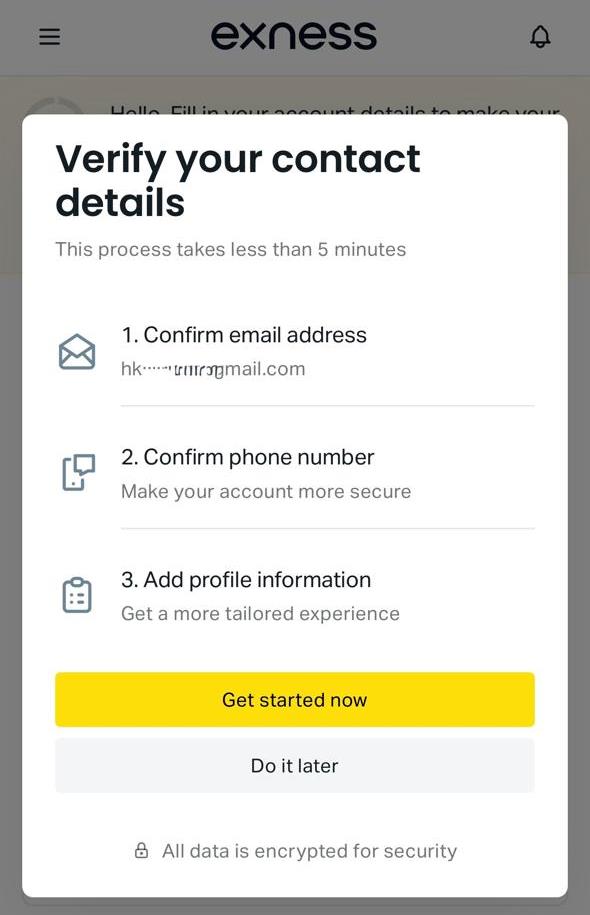
Step 5 — Accept terms and continue
06
Registration

Check Your Email Inbox

Open your email inbox and look for a verification message from Exness. If it doesn't appear within two minutes, check your spam or junk folder — it sometimes lands there.
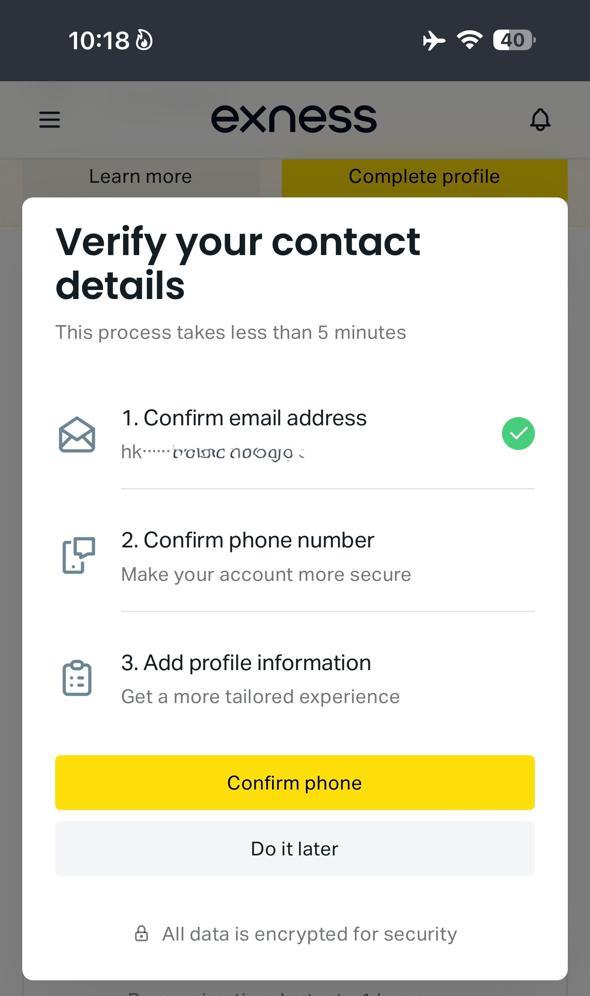
Step 6 — Check email inbox
07
Registration

Enter the Email Verification Code

Copy the 6-digit code from the Exness email and enter it on the verification screen. Do not close the app while switching to your email — the code expires in a few minutes.
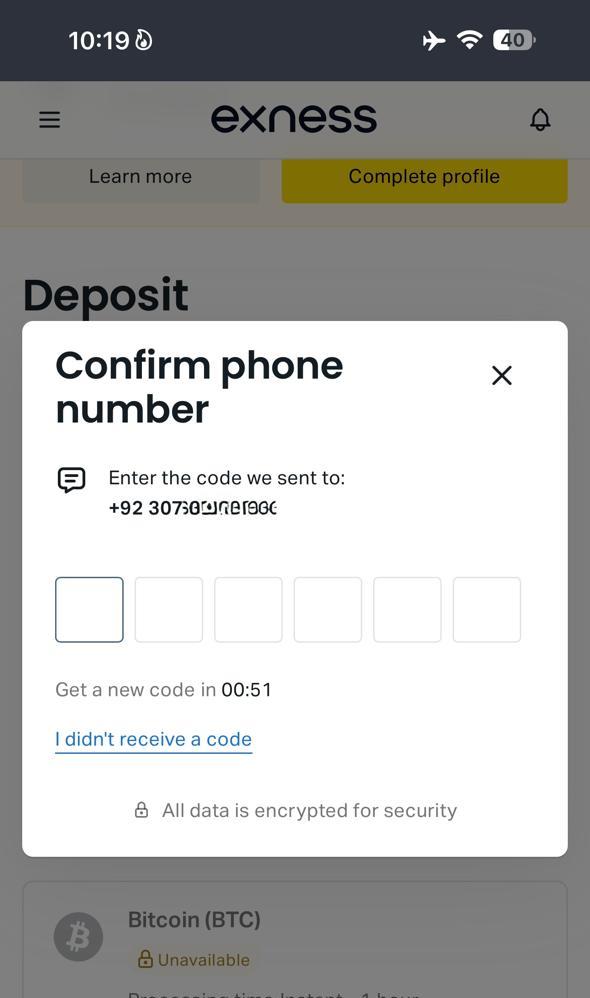
Code expires quickly — enter it immediately after copying.
Step 7 — Enter verification code
08
Registration

Email Verified — Account Created

Your email is now confirmed and your Exness account is created. You'll be taken into your Personal Area — the main control panel for all account activity.
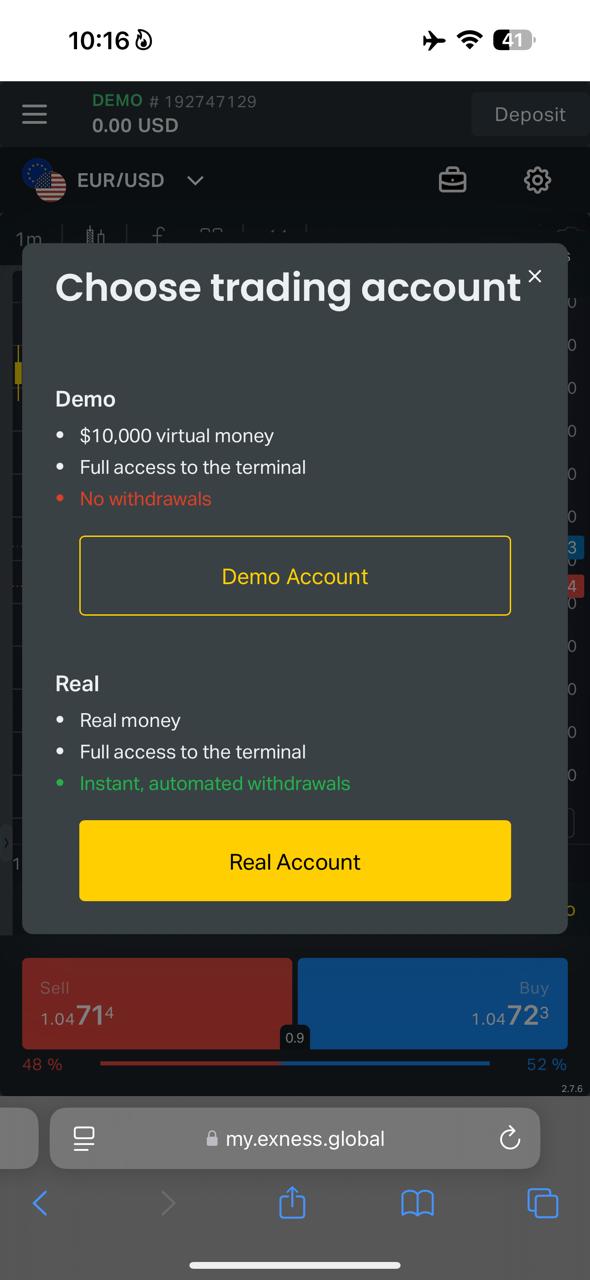
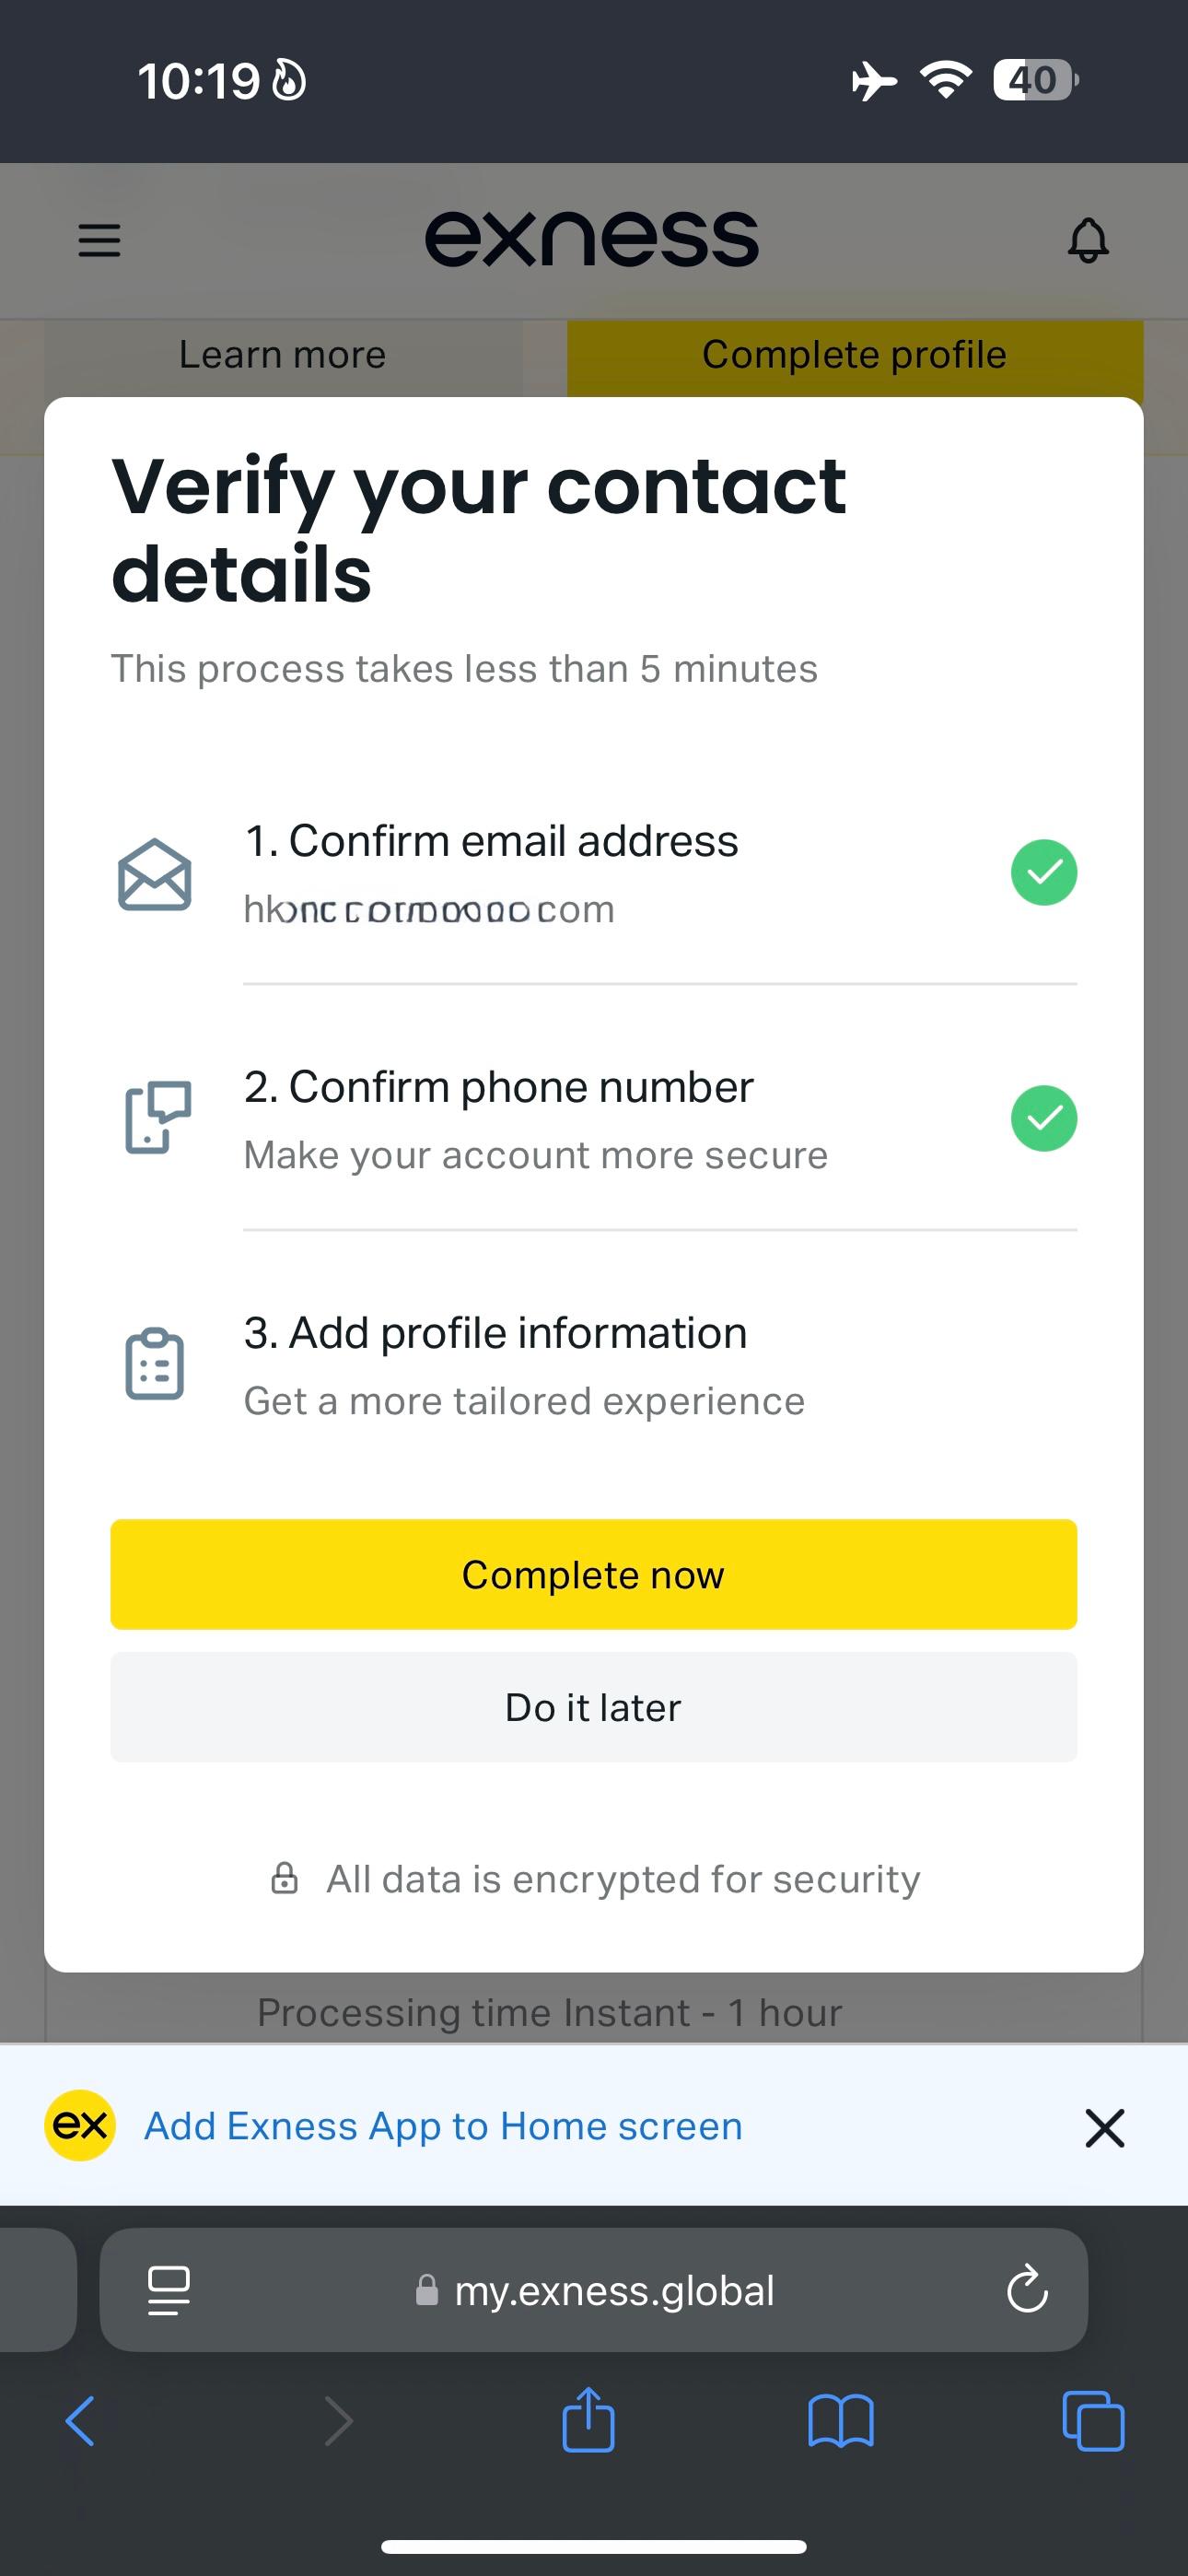
Step 8 — Account created successfully
2

Enter Your Personal Information

Provide your legal name, date of birth, phone number, and residential address. This information must exactly match your official government ID — no abbreviations or nicknames.

Steps 9 – 14
09
Personal Info

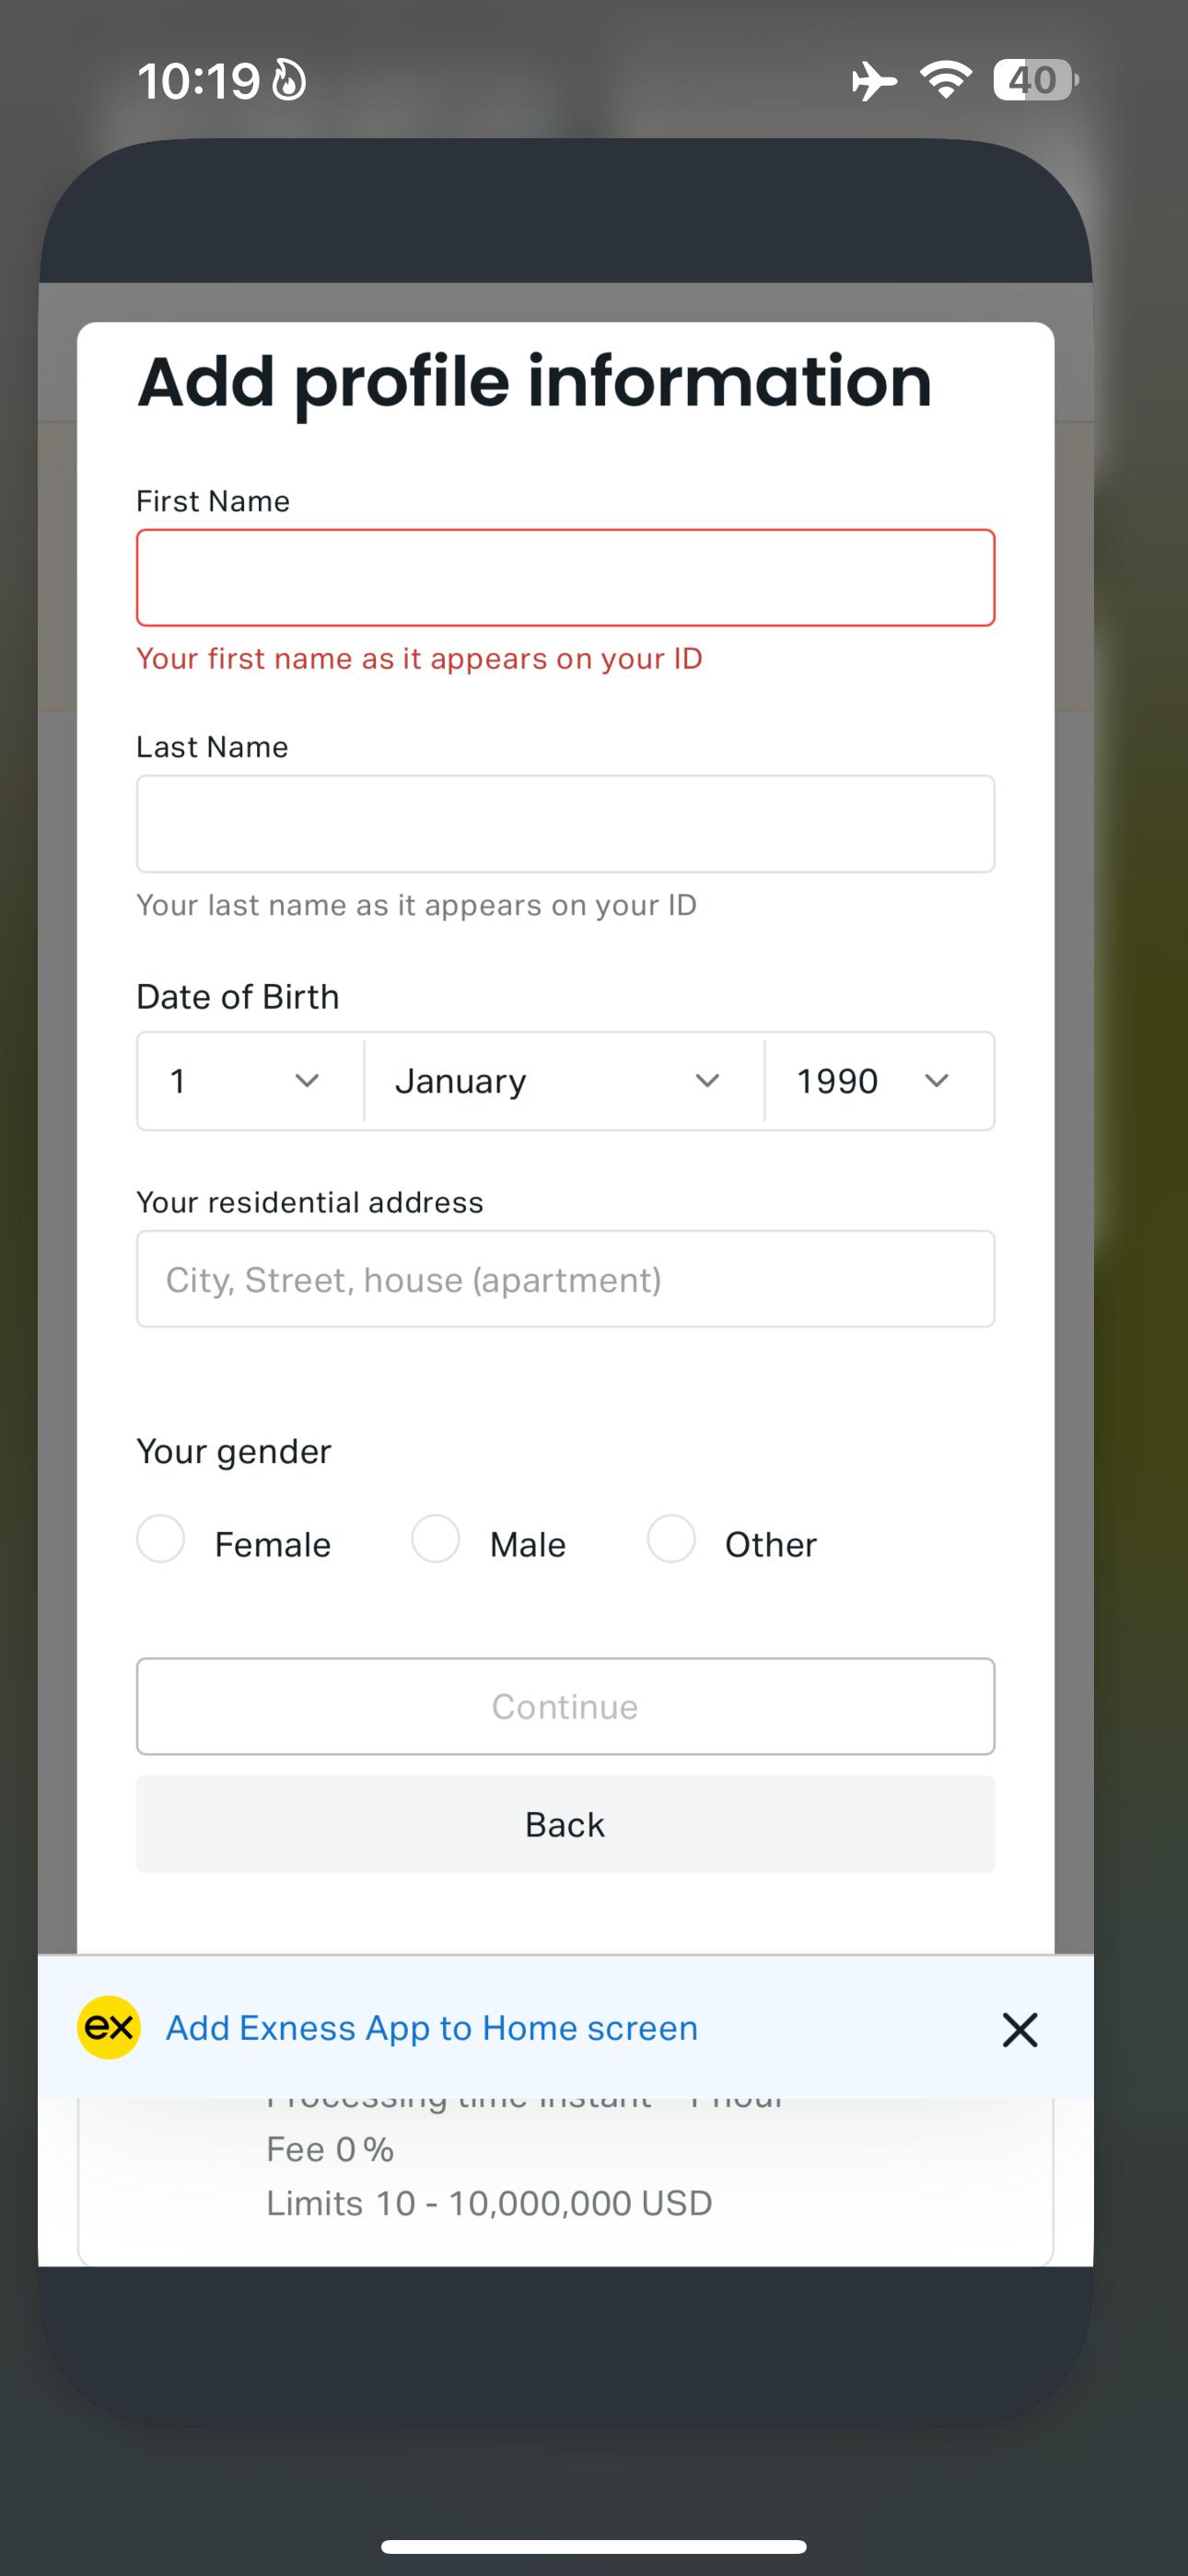
Enter Your Full Legal Name

Type your first and last name exactly as they appear on your National ID Card. Even minor spelling differences can delay verification. No nicknames or shortened forms.

Name must be an exact match to your government-issued ID.
Step 9 — Enter full legal name
10
Personal Info

Enter Your Date of Birth

Enter your correct date of birth in the required format. You must be 18 years or older to open a live trading account. Minors cannot be verified or approved.

Step 10 — Date of birth
11
Personal Info

Enter Your Phone Number

Provide your active mobile number including the country dialling code (e.g. +92 for Pakistan). Make sure the number can receive SMS — you'll get a verification code in the next step.

Step 11 — Enter phone number
12
Personal Info

Enter the SMS Verification Code

Exness will send a one-time password (OTP) to your phone number via SMS. Enter this code on the verification screen to confirm your mobile number.

The OTP is valid for a limited time — enter it promptly.
Step 12 — SMS OTP verification
13
Personal Info

Enter Your Residential Address

Provide your full home address including street name, city, and postal/zip code. This address must match the address on the proof-of-address document you may be asked for later.

Step 13 — Residential address
14
Personal Info

Review & Confirm Your Address

Review all address fields for accuracy, then confirm to proceed. Double-check the spelling of your city and that the postal code is correct before moving forward.

Step 14 — Confirm address
3

Complete Your KYC Verification

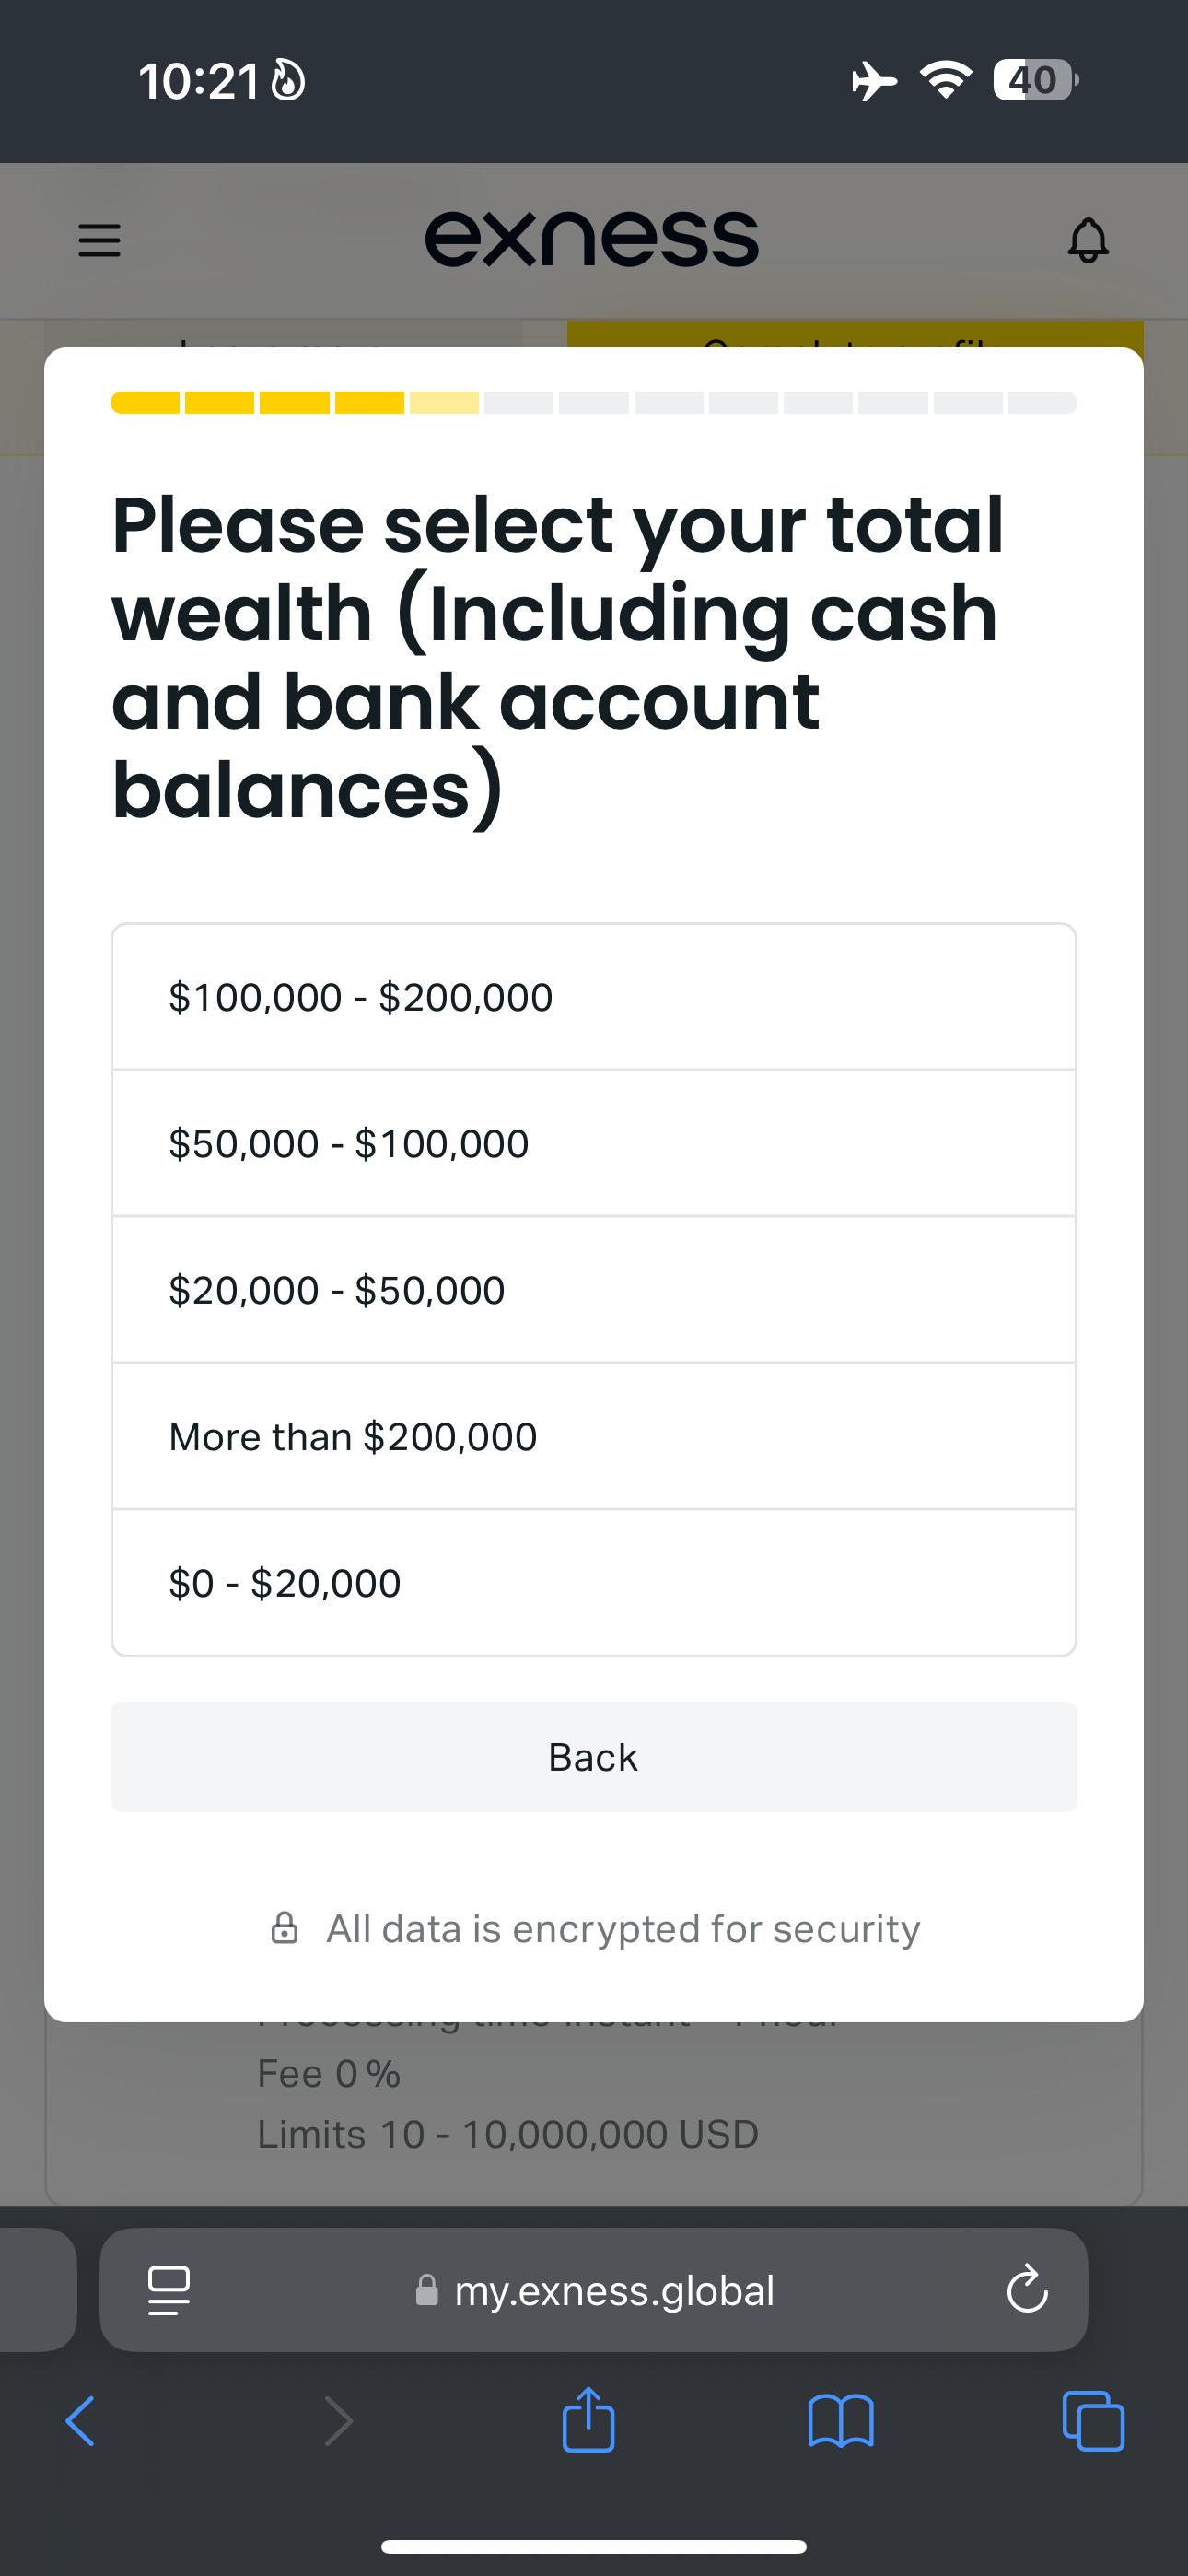
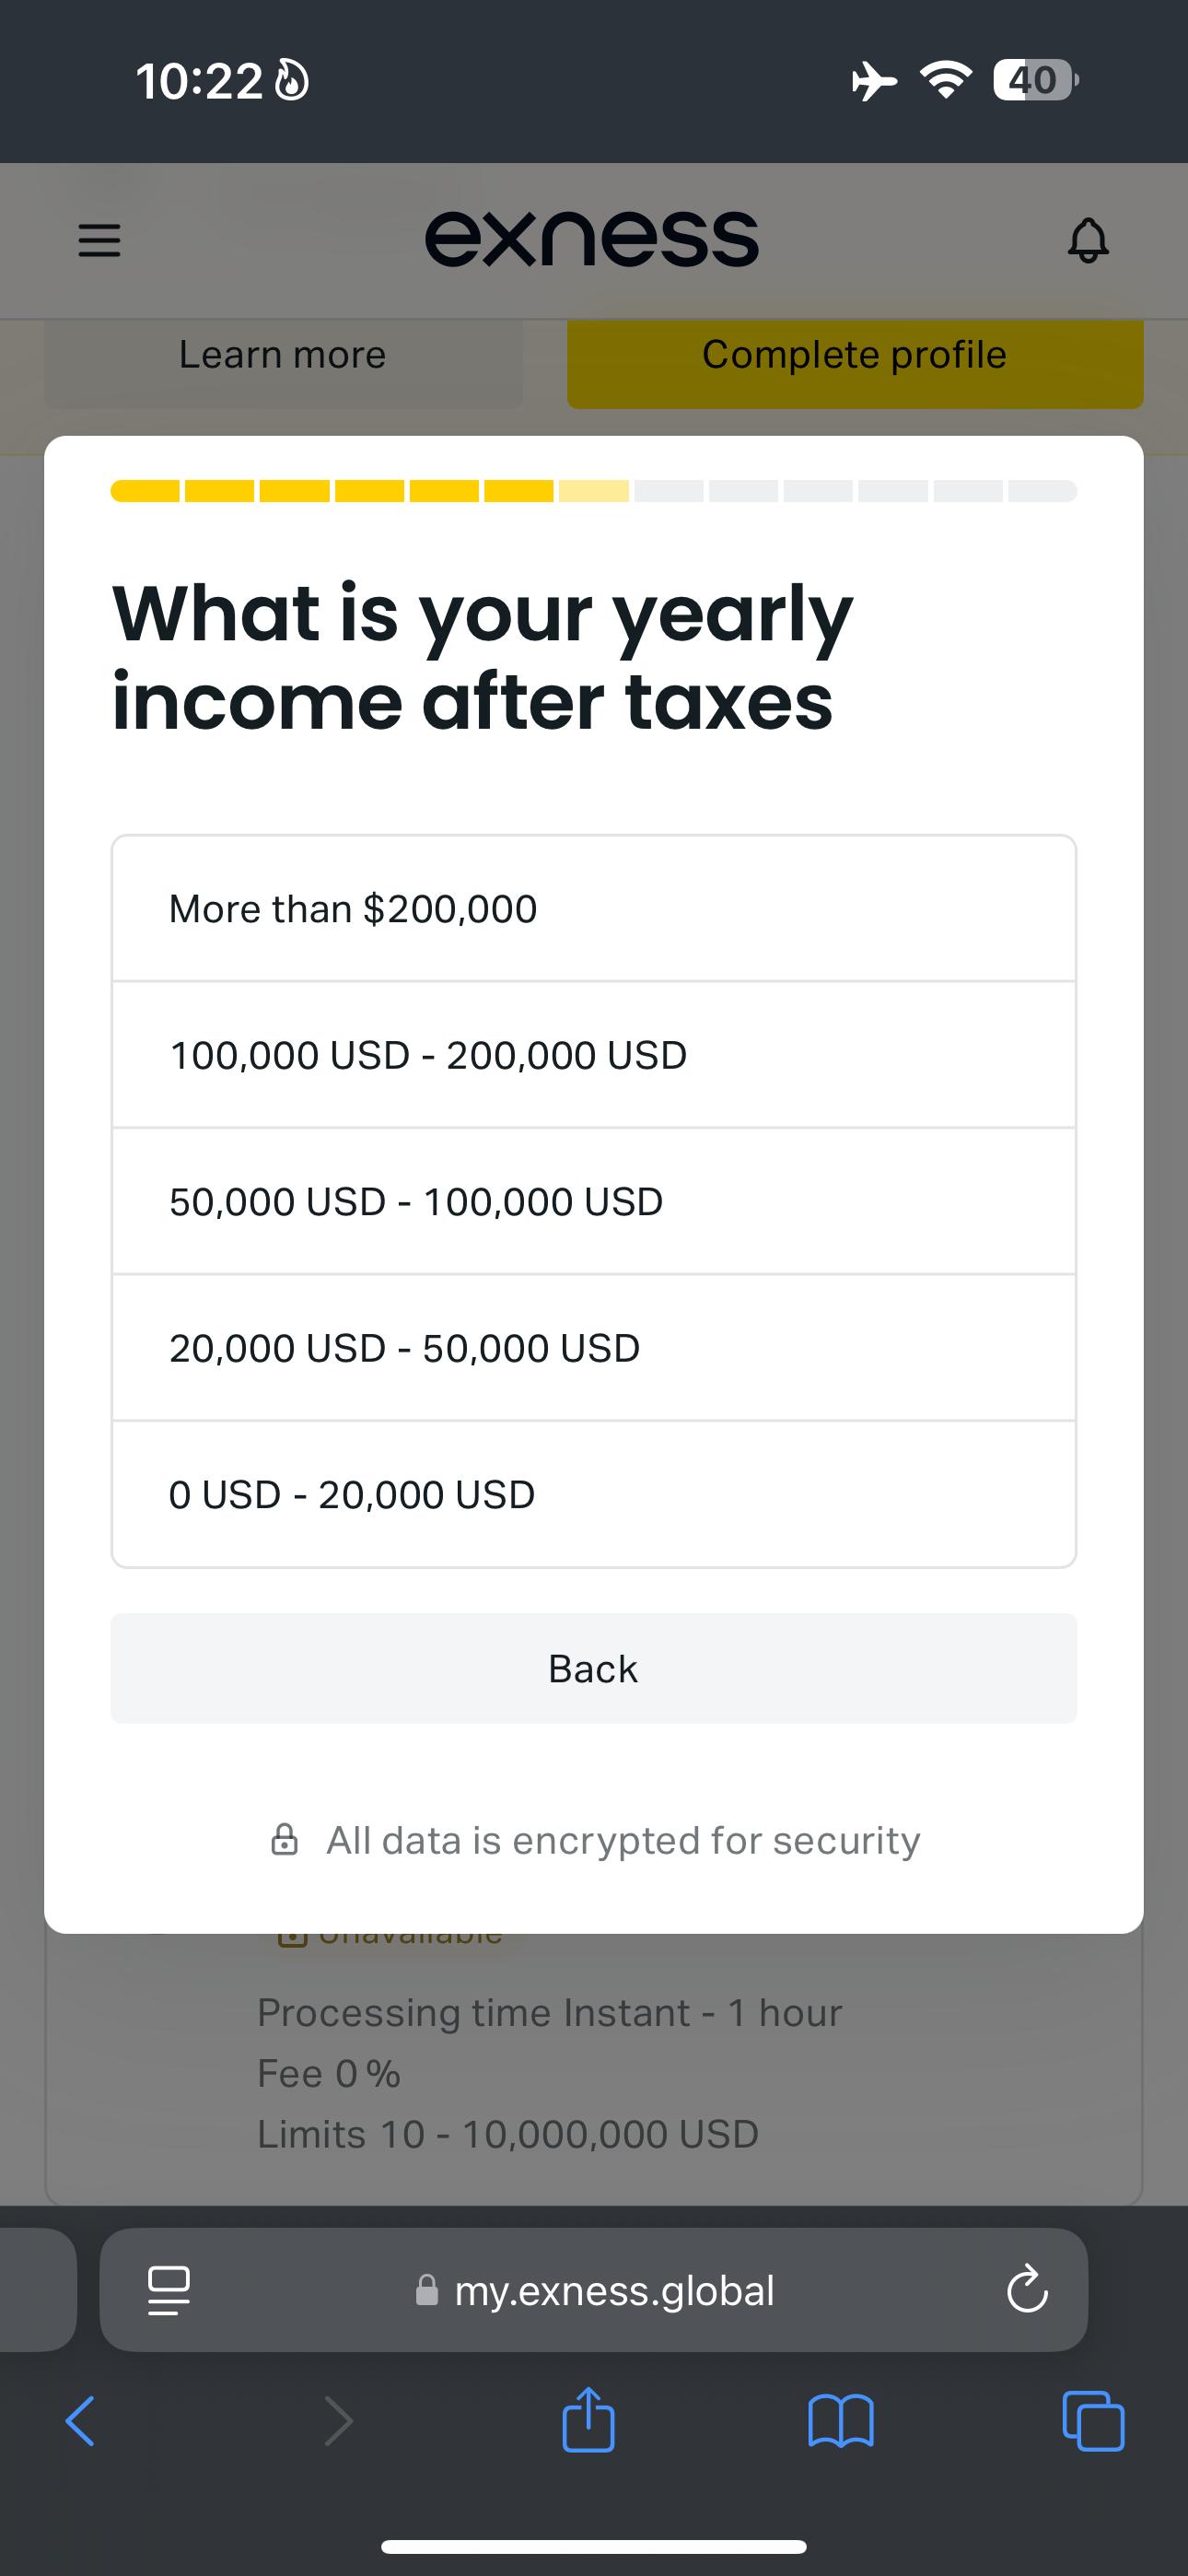
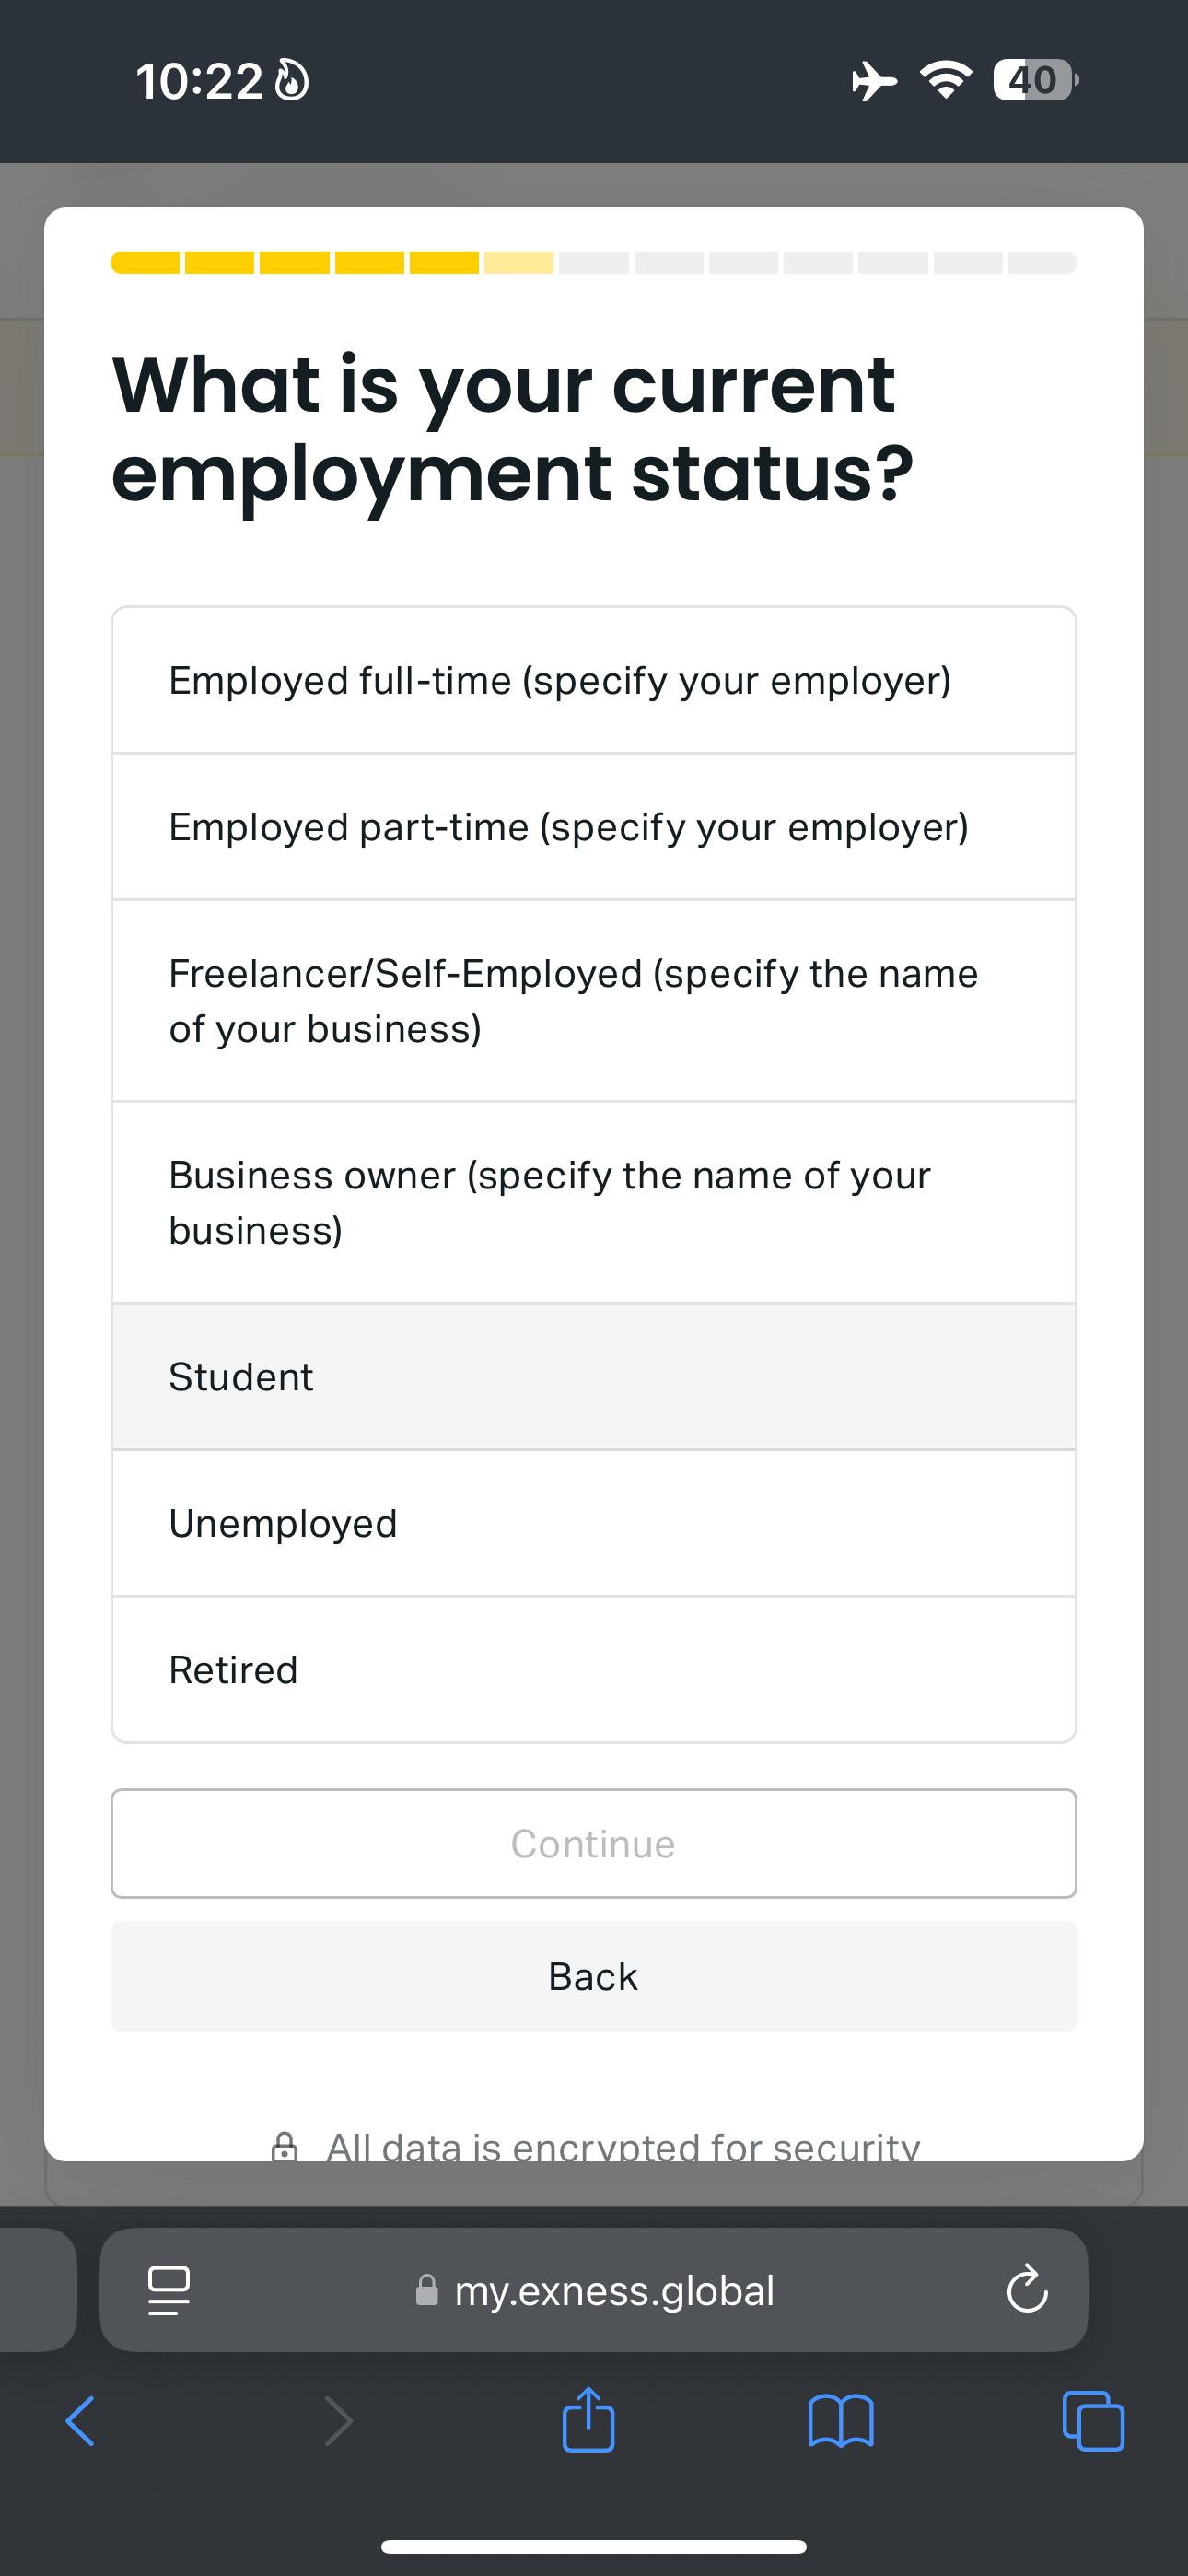
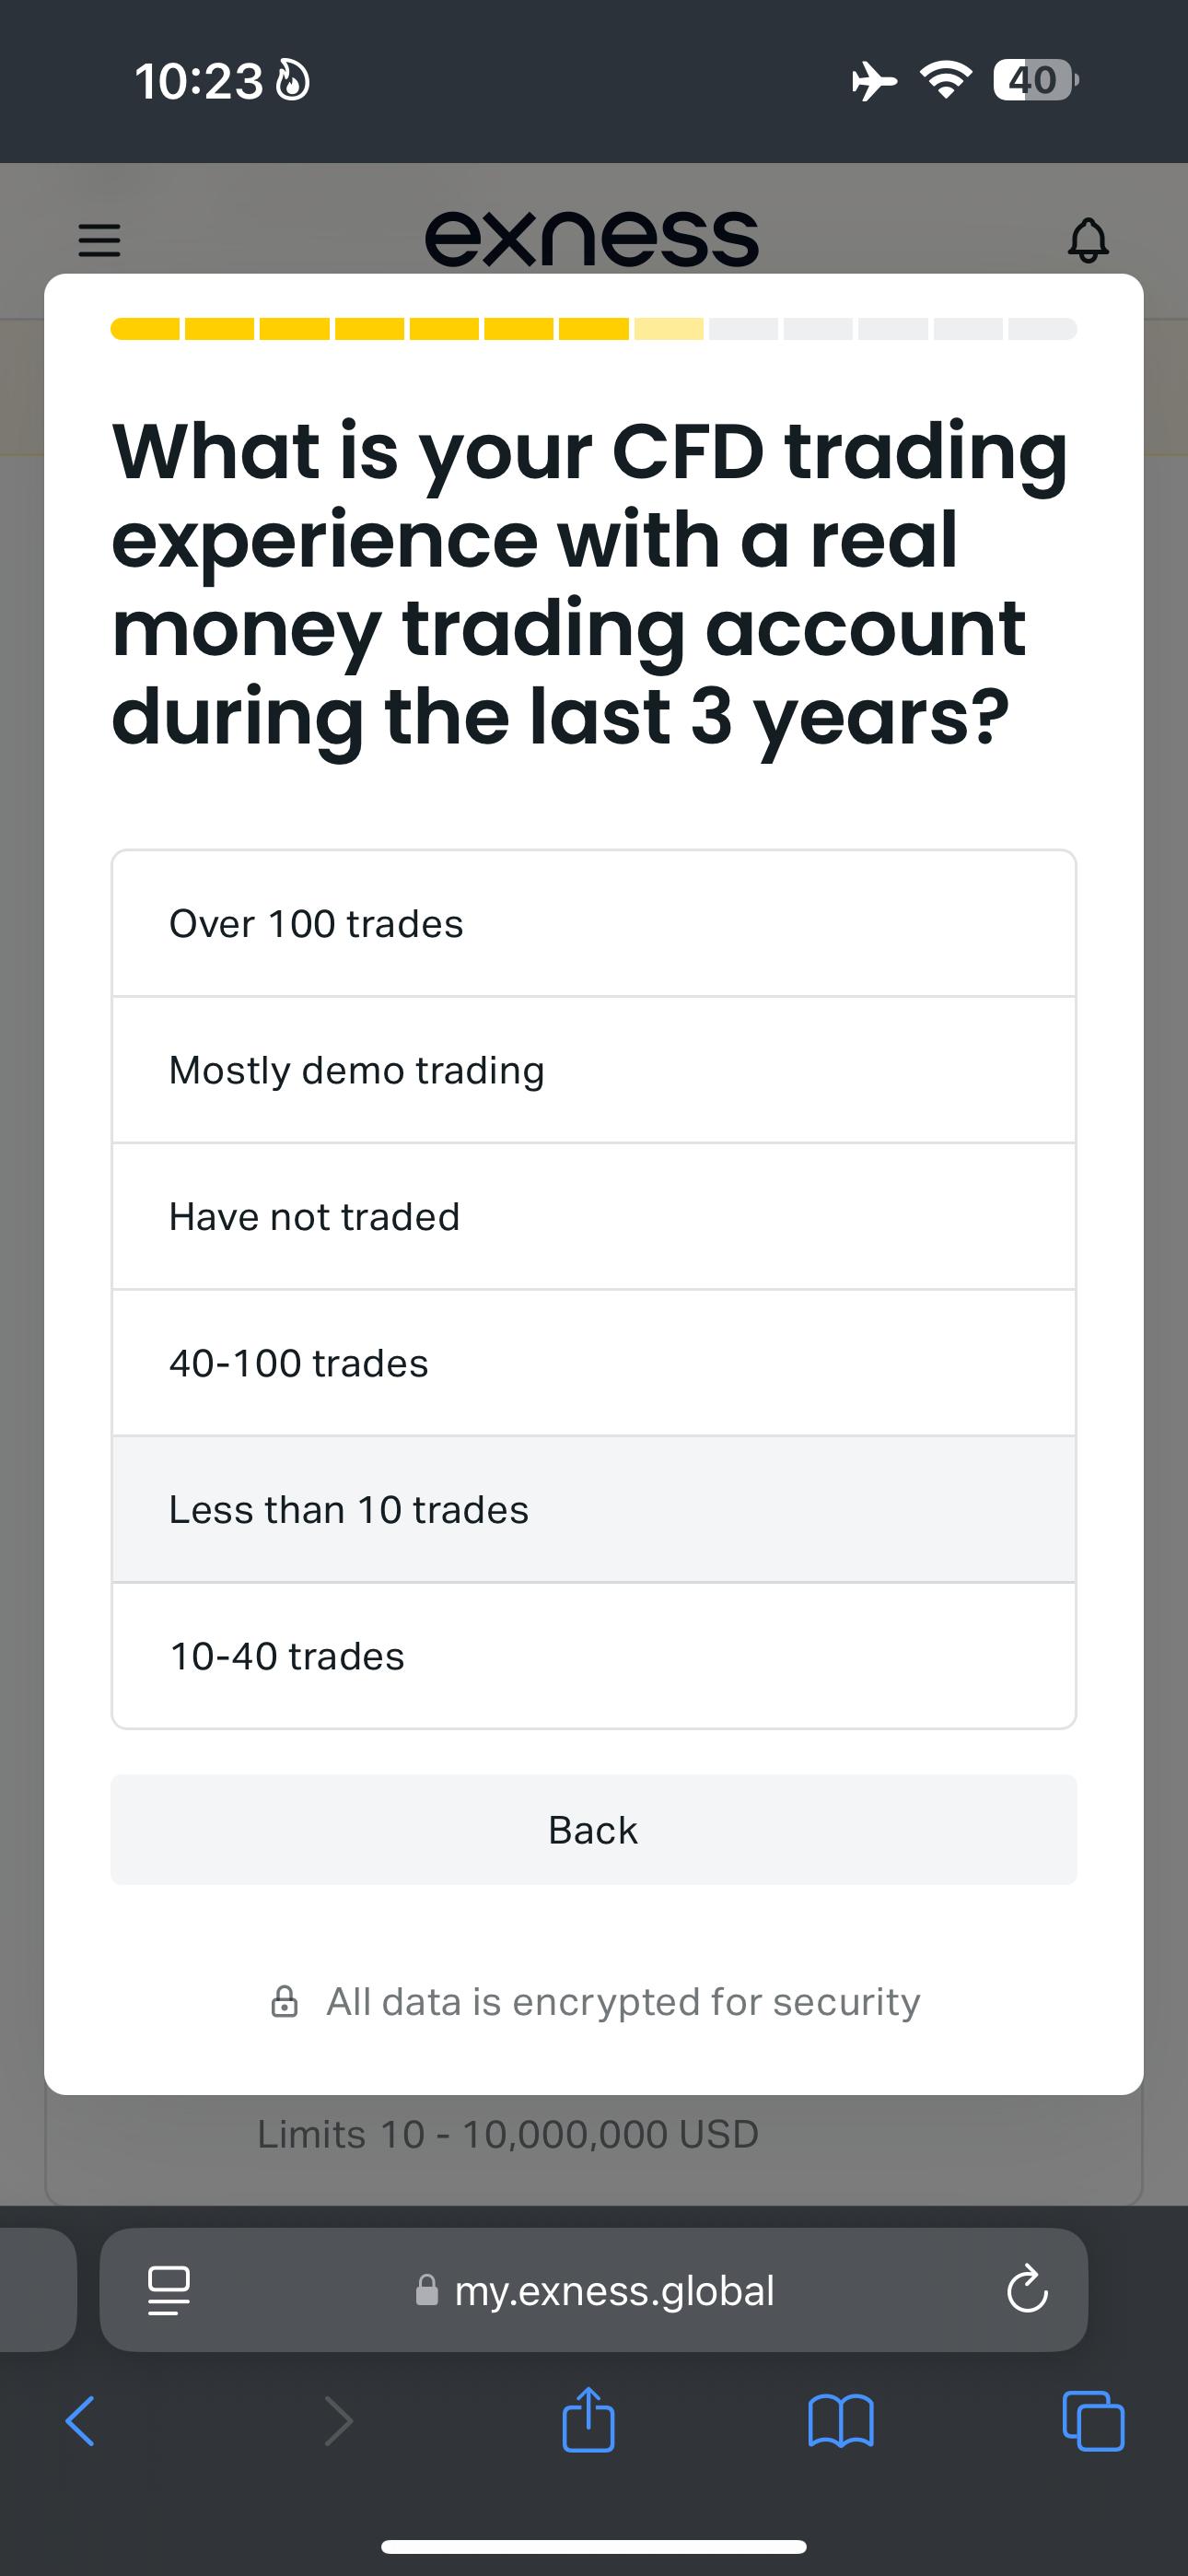
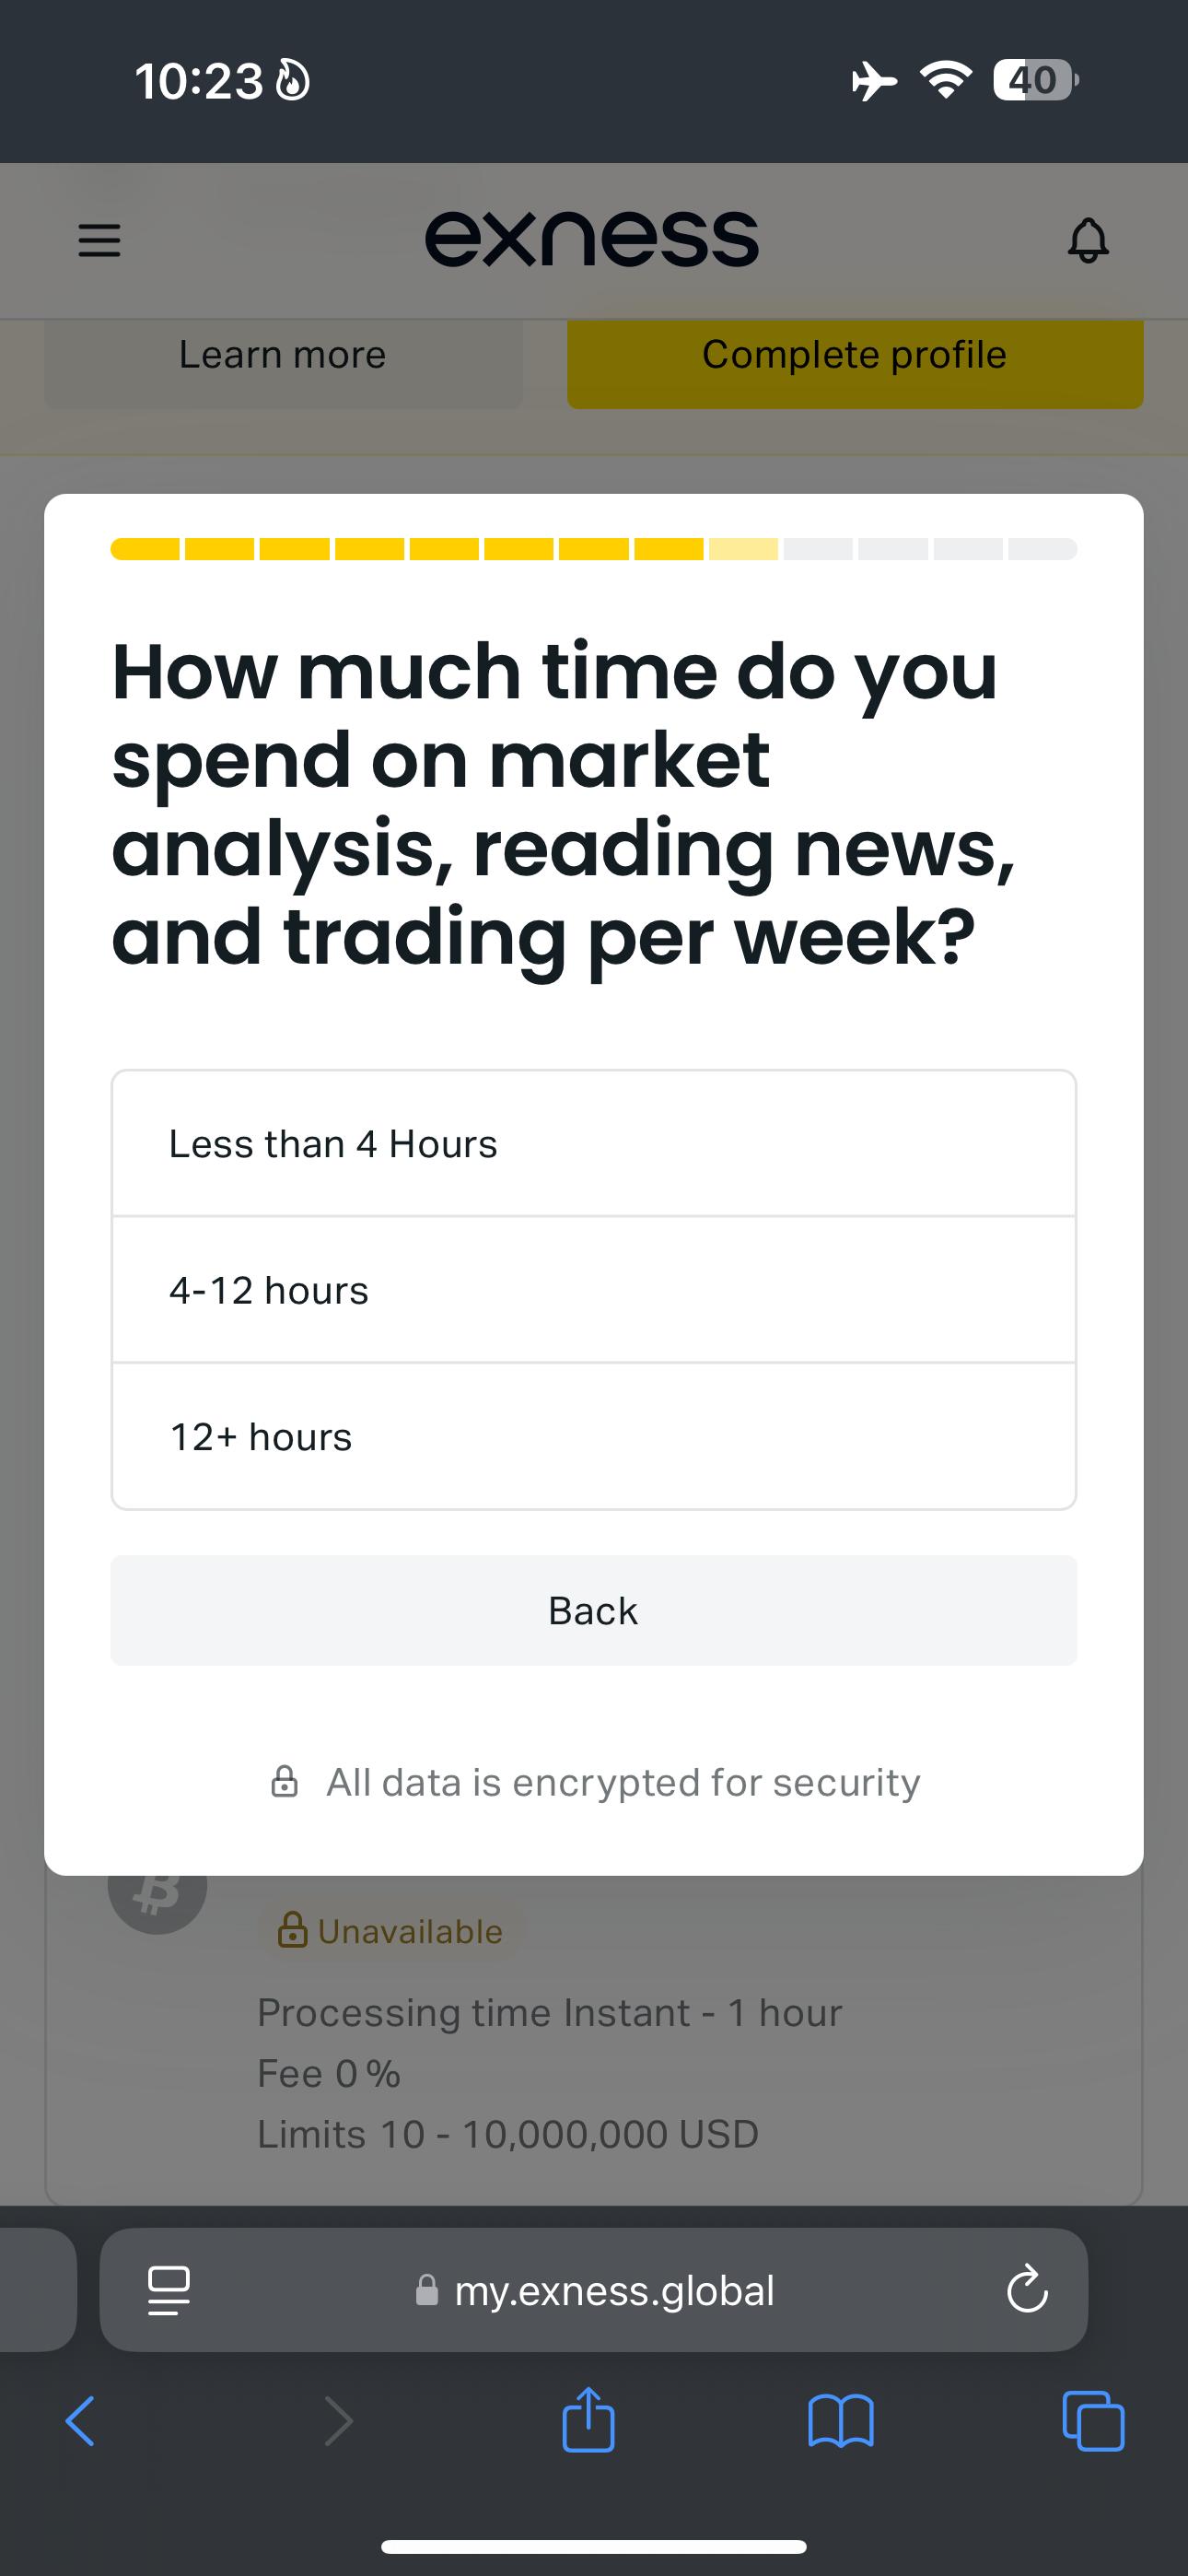
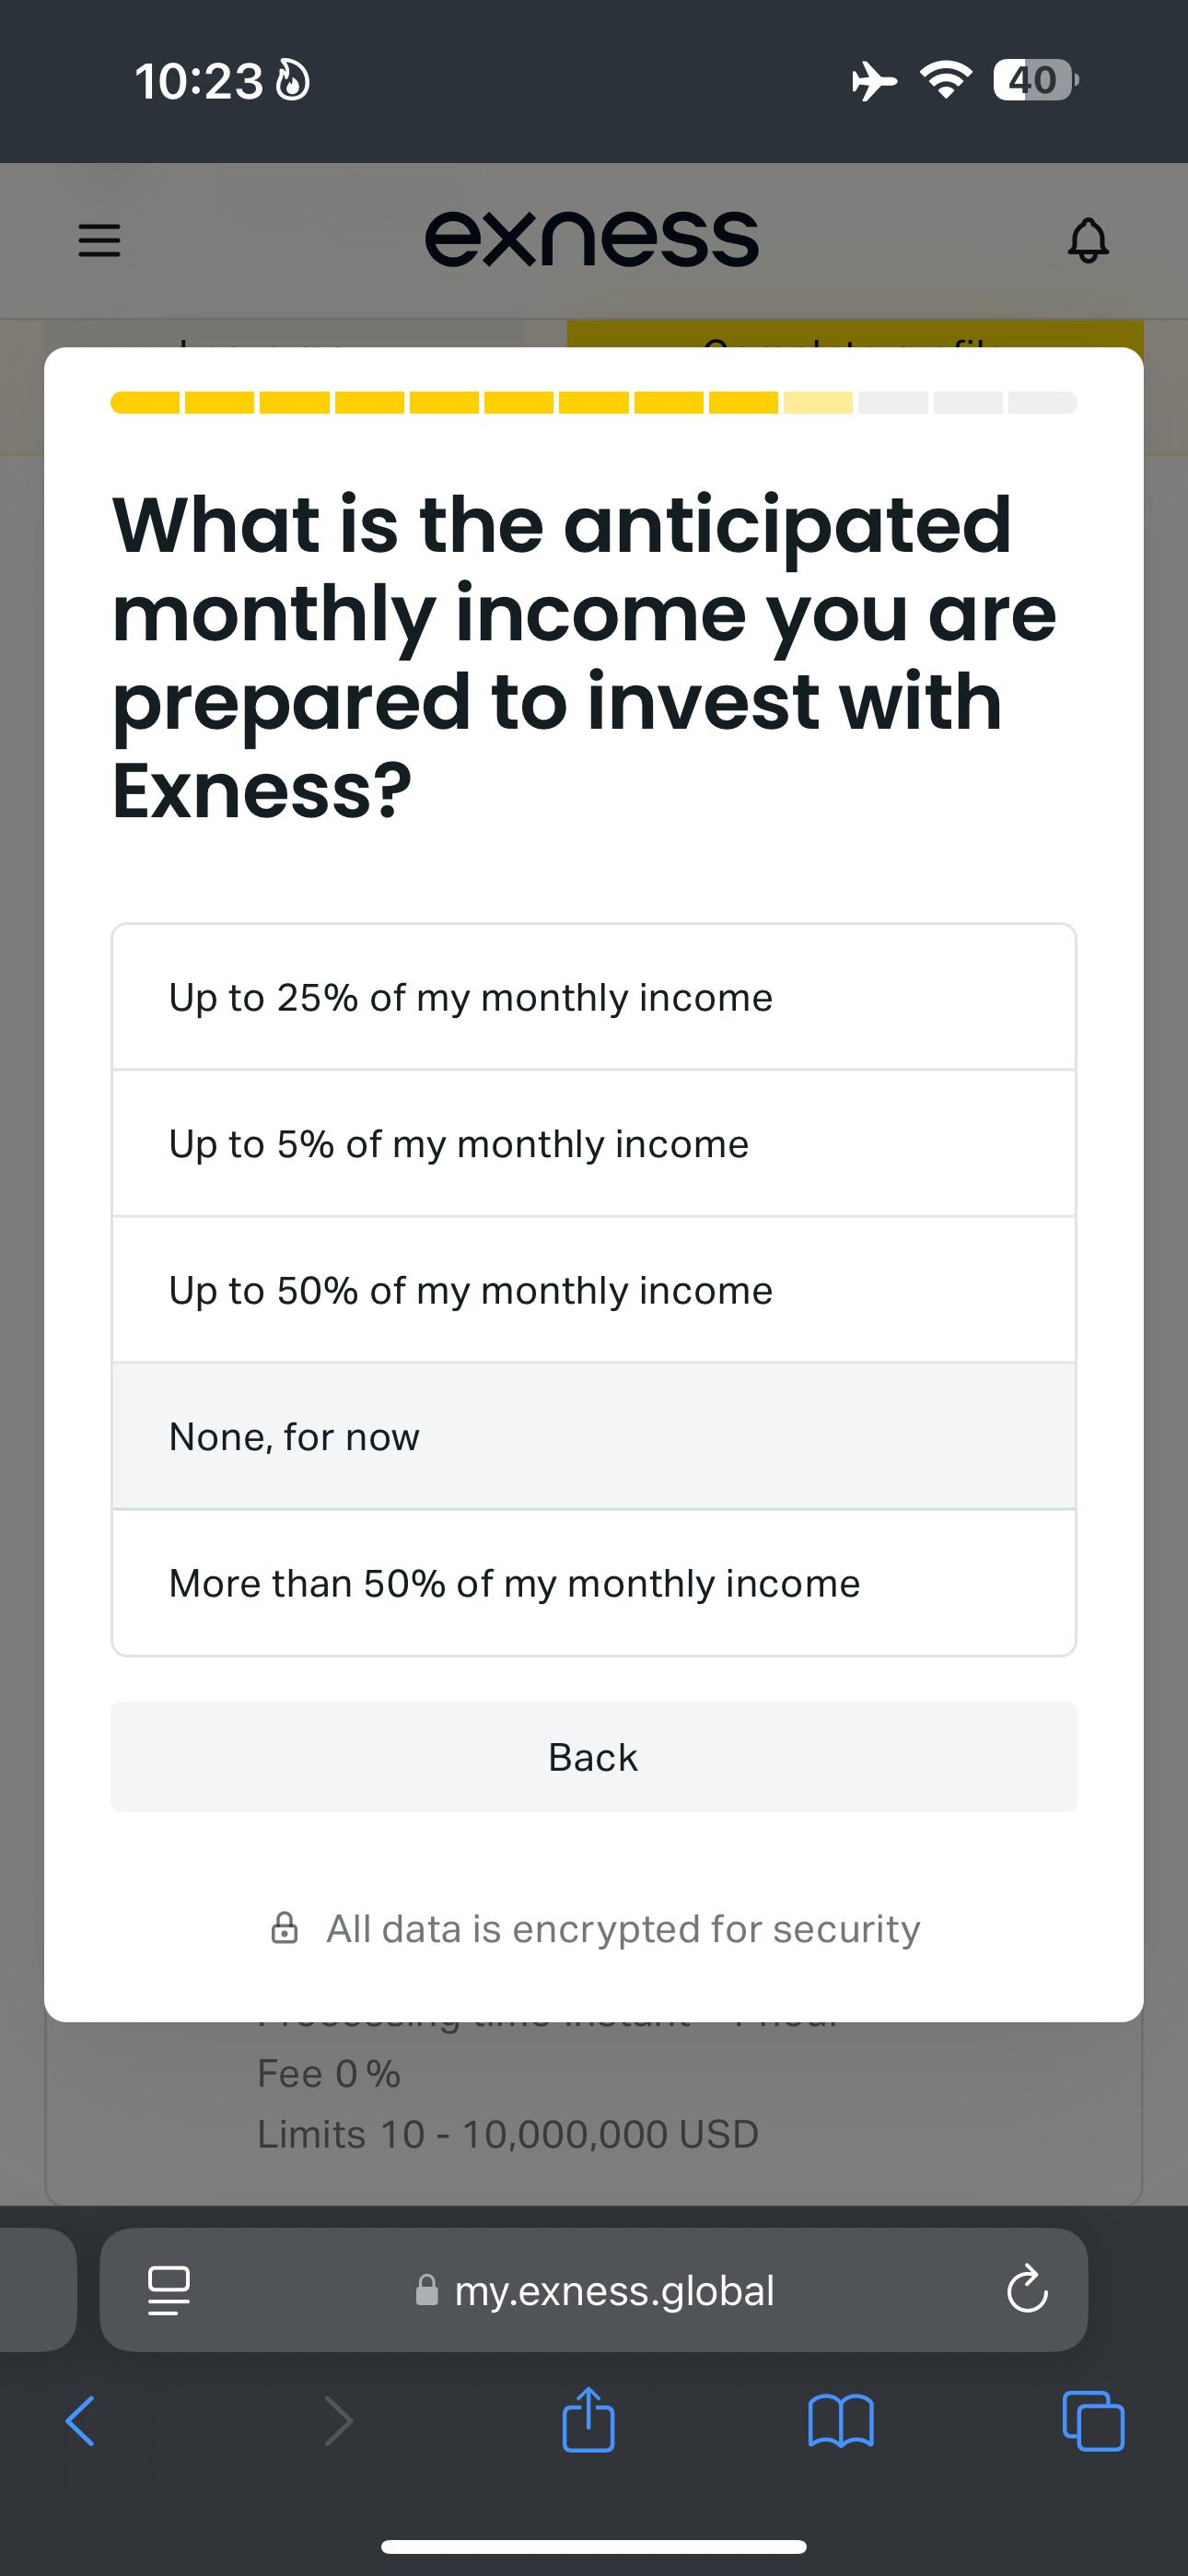
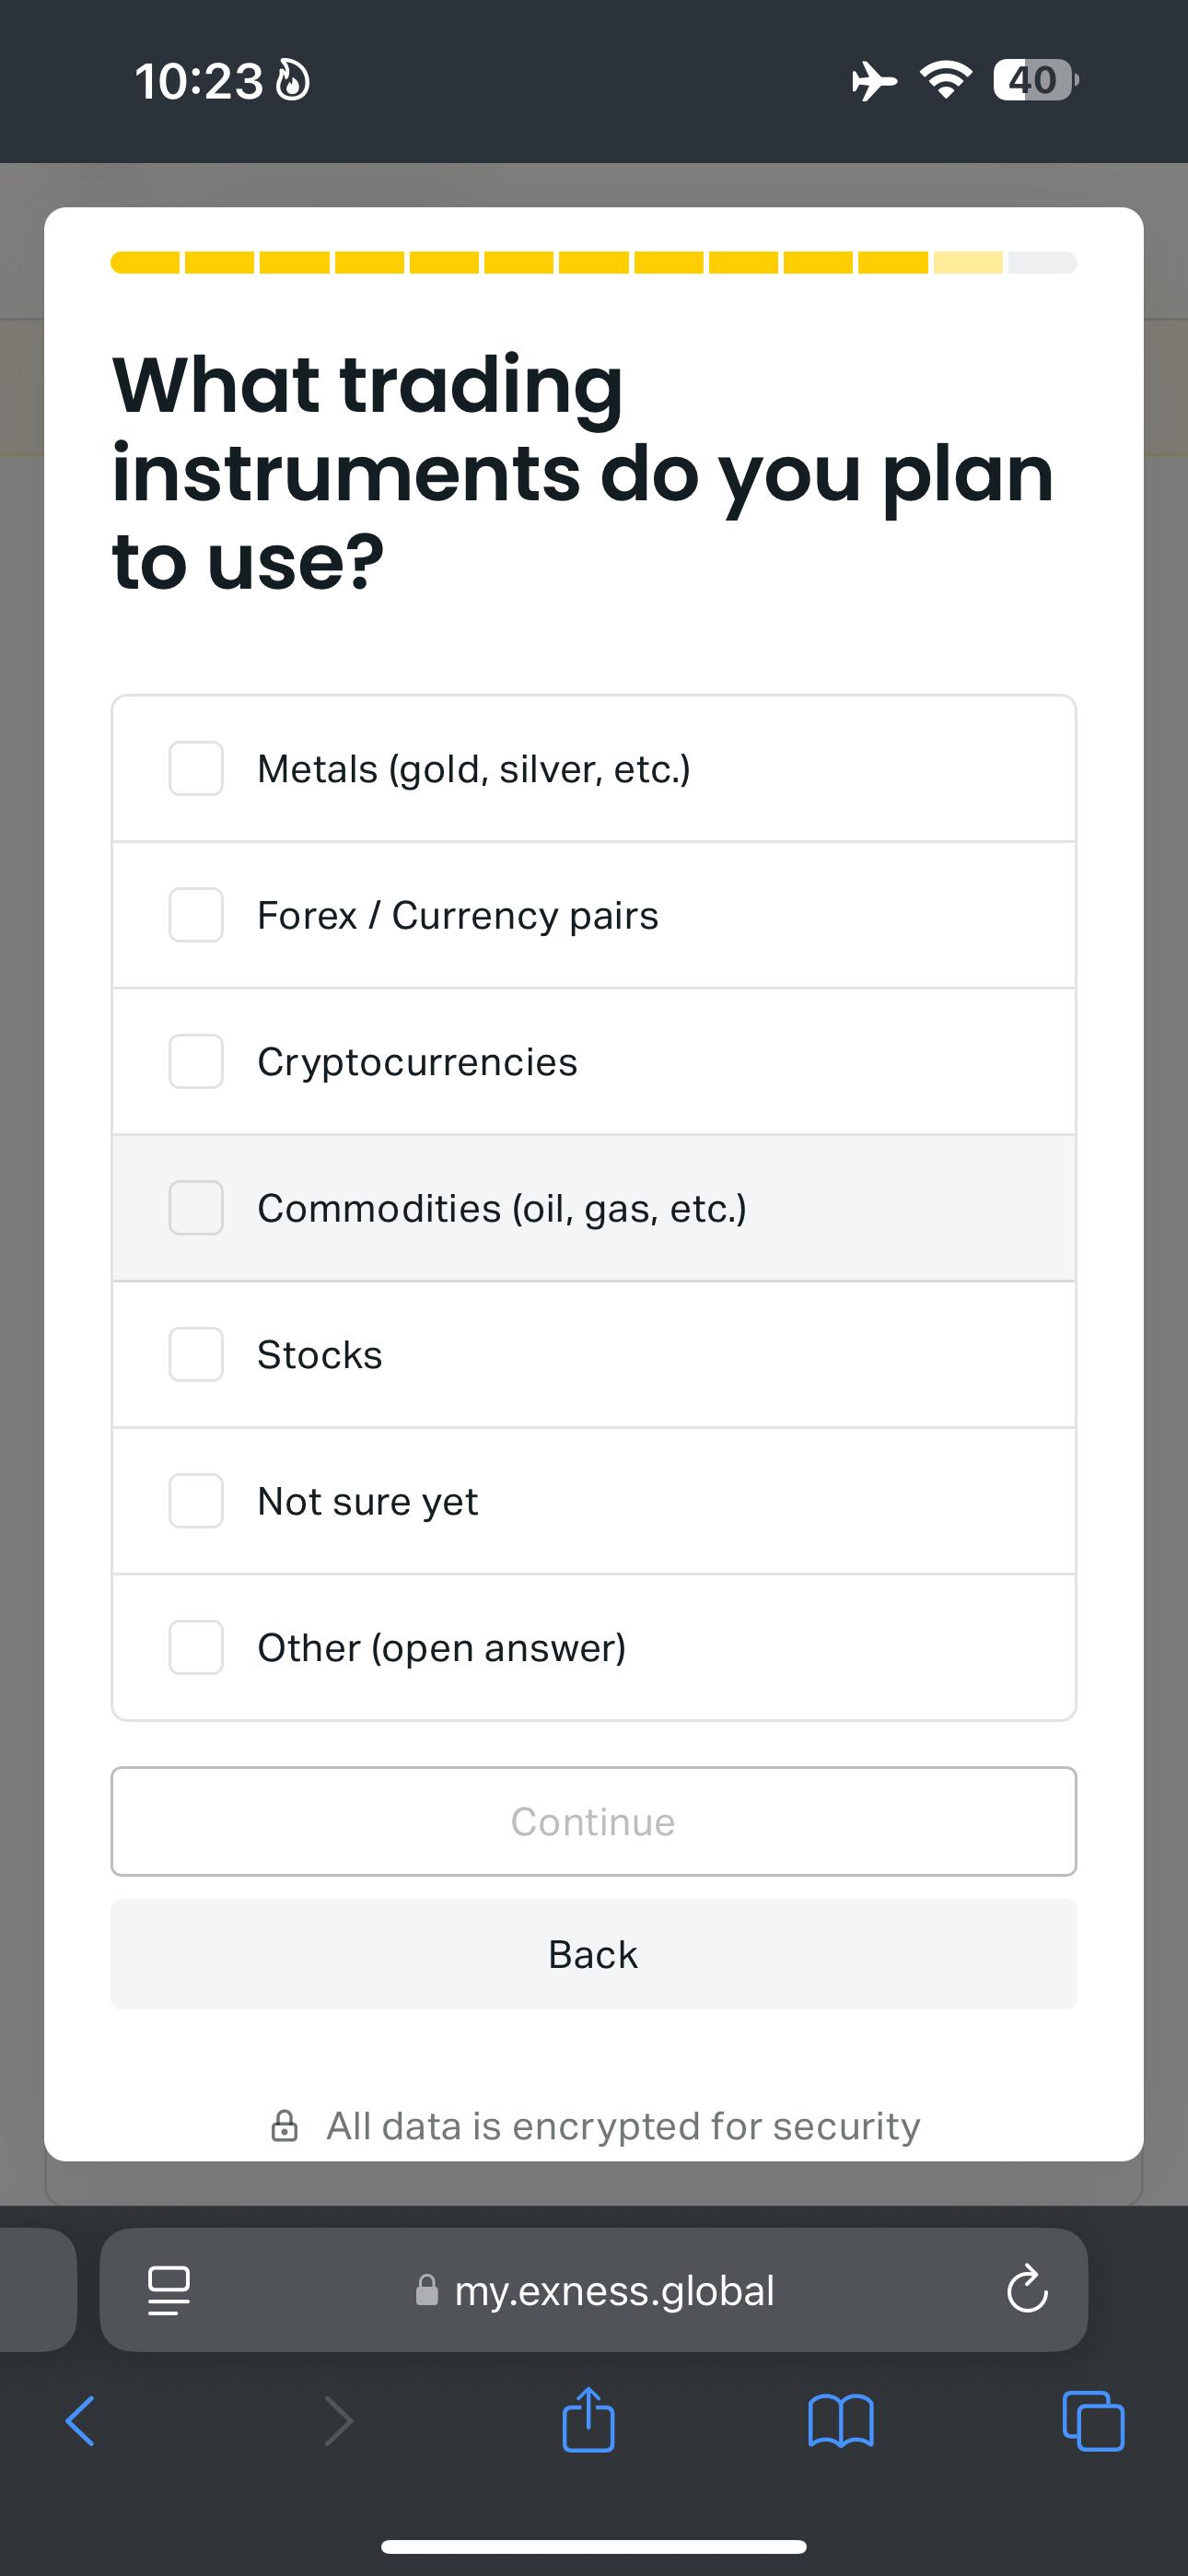
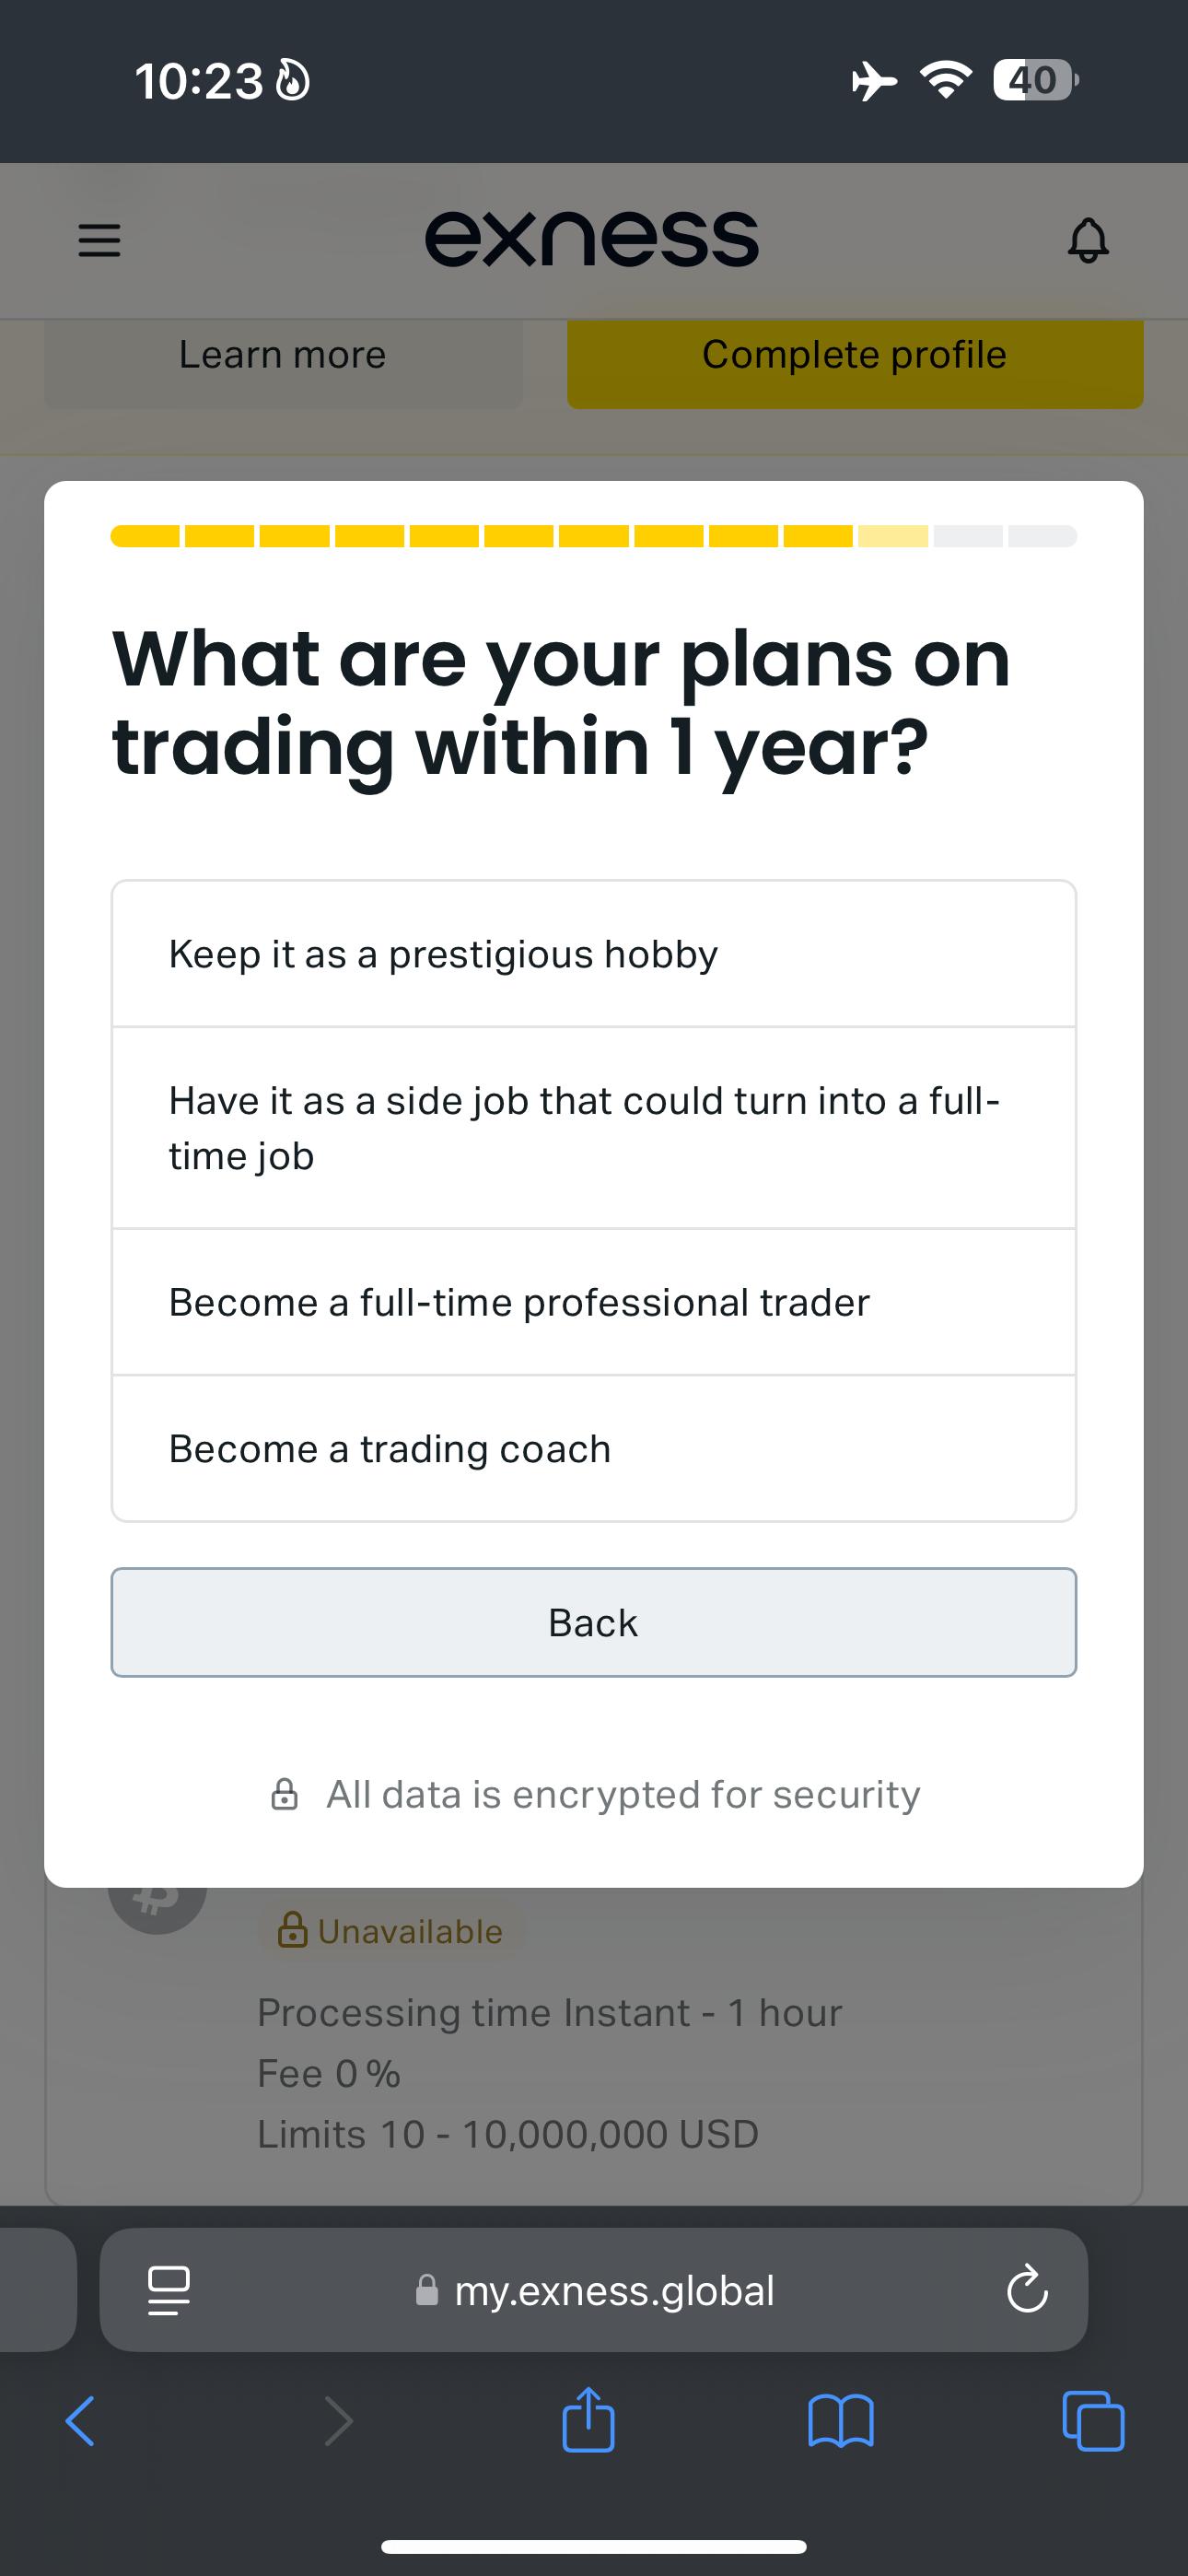
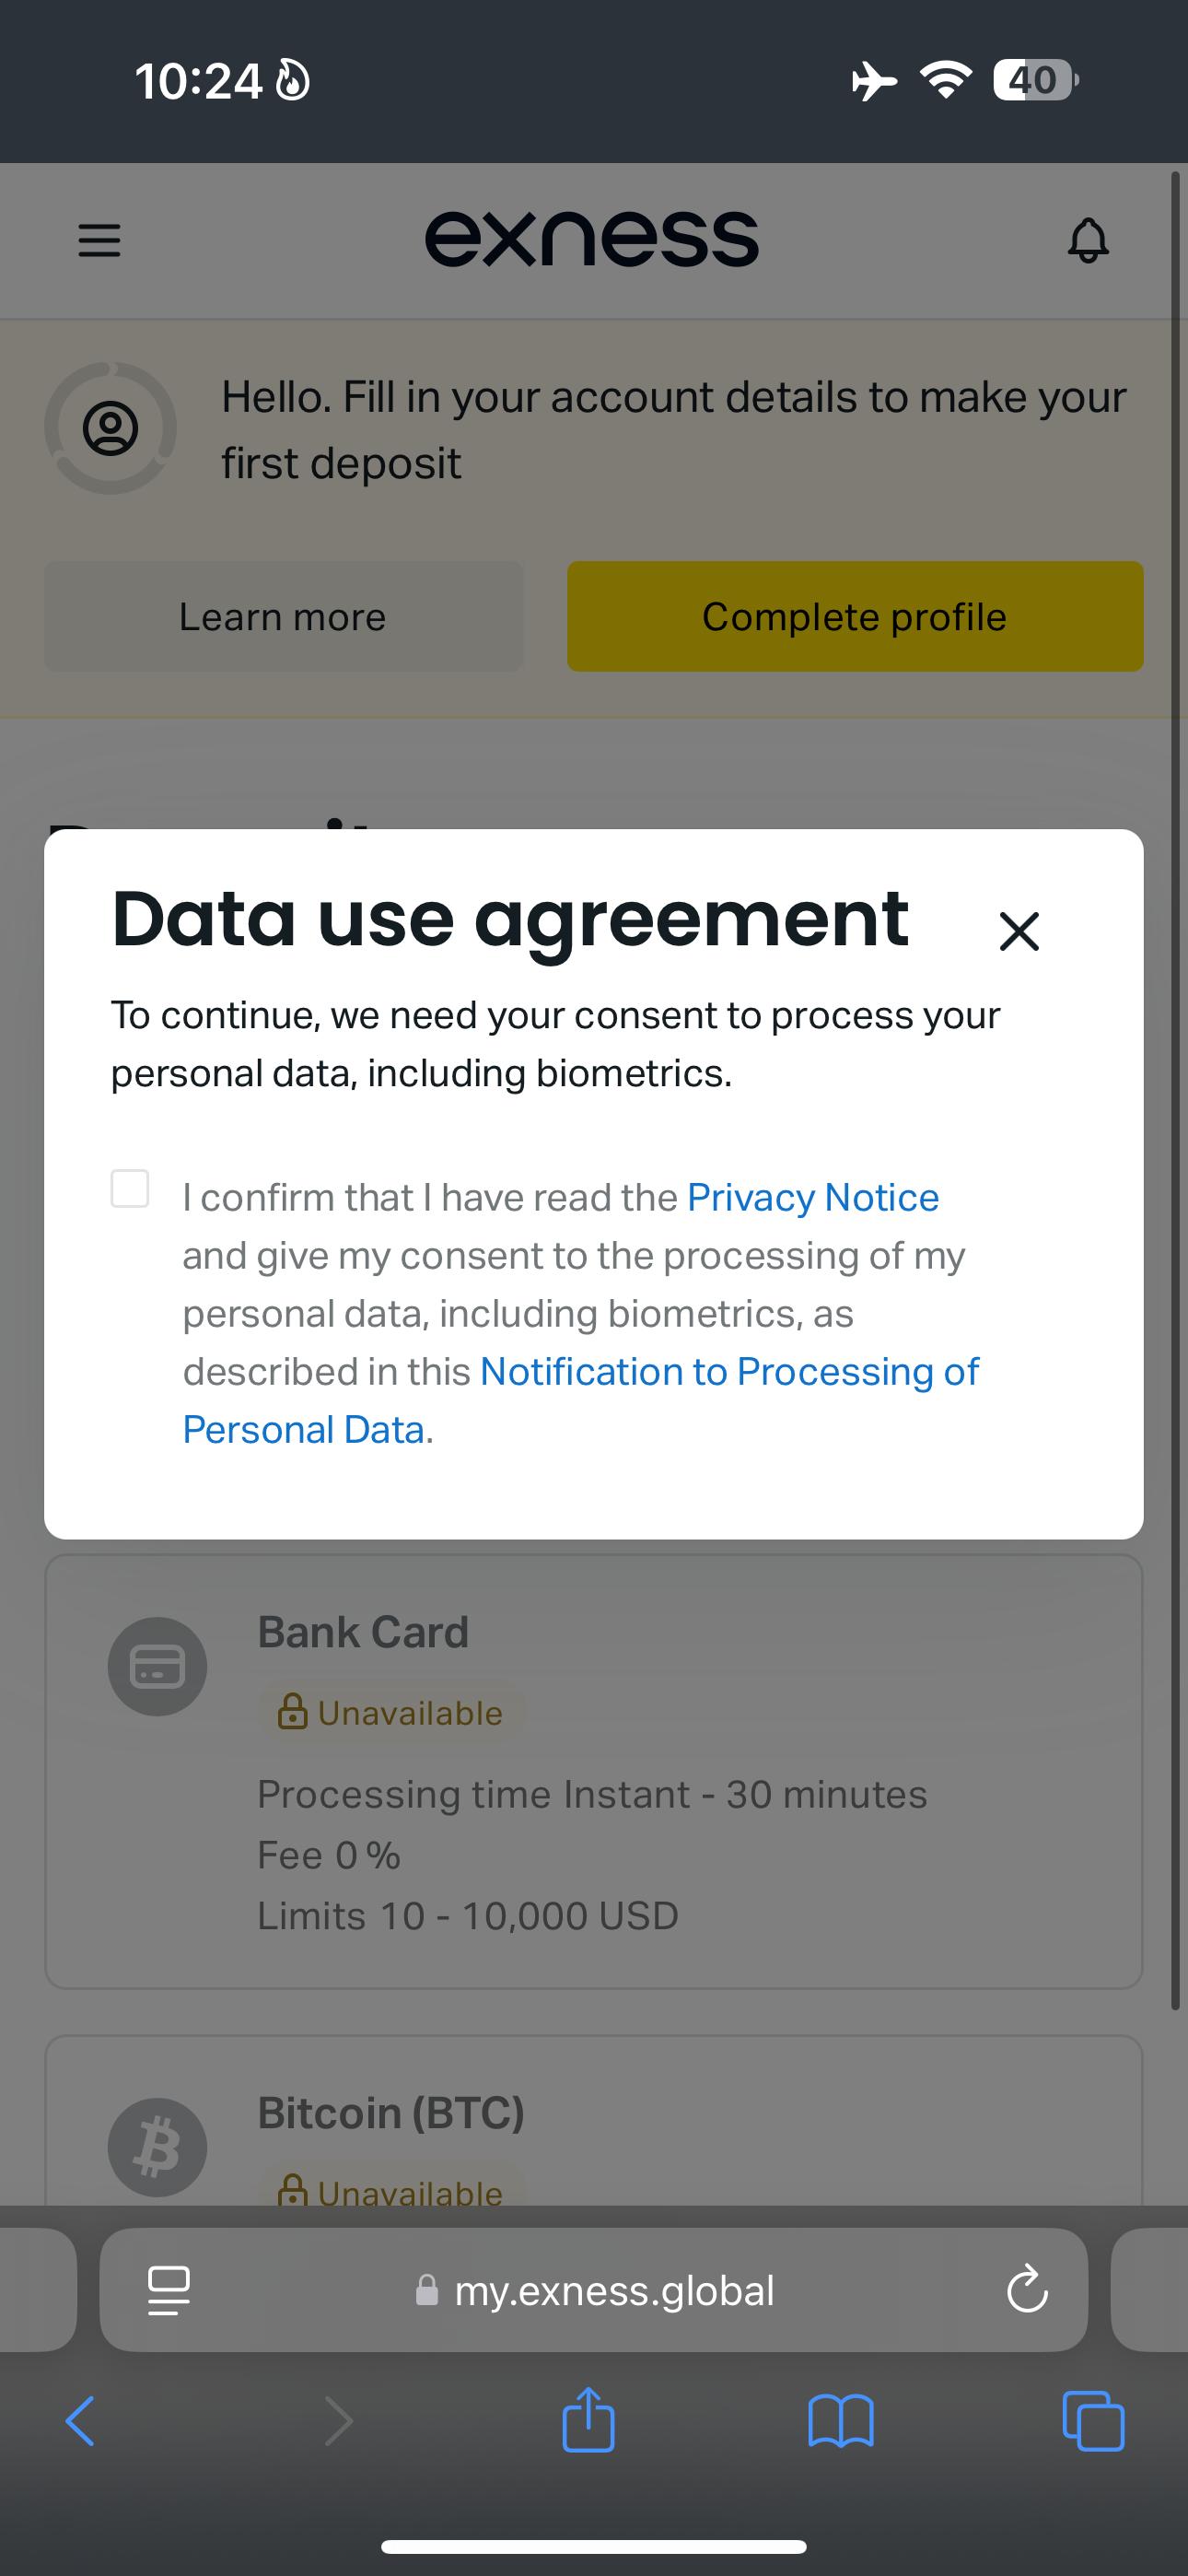
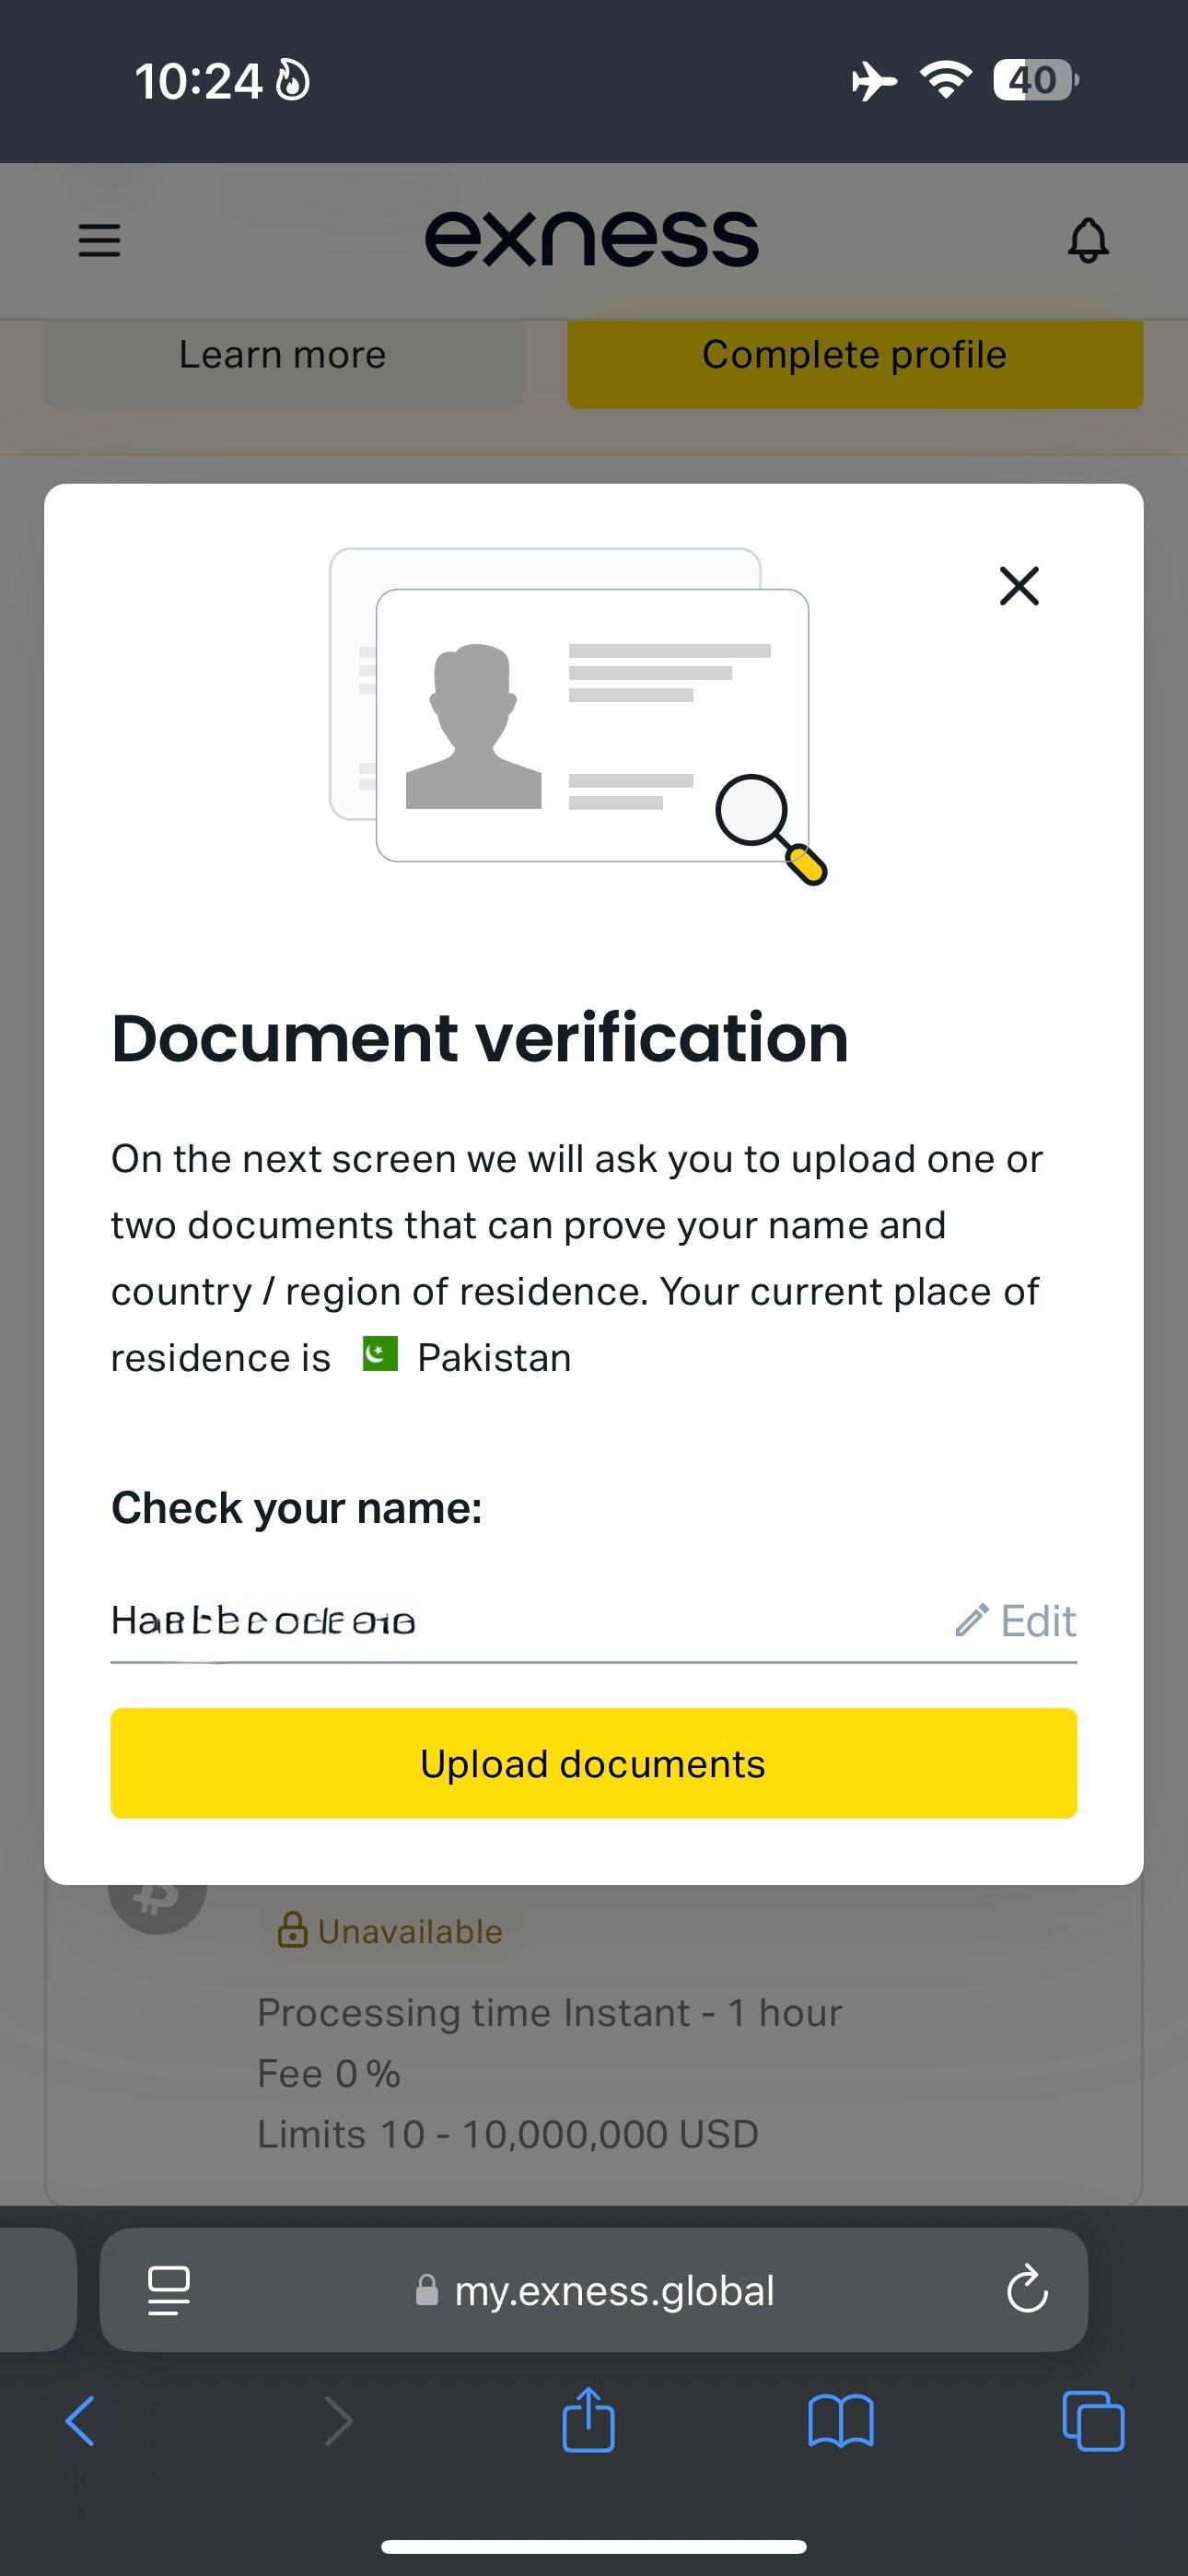
Upload your identity documents for Exness's Know Your Customer (KYC) verification. This is a regulatory requirement. Clear, high-quality photos are essential — poor photos are the most common cause of delays.

Steps 15 – 20
15
KYC

Navigate to the Verification Section

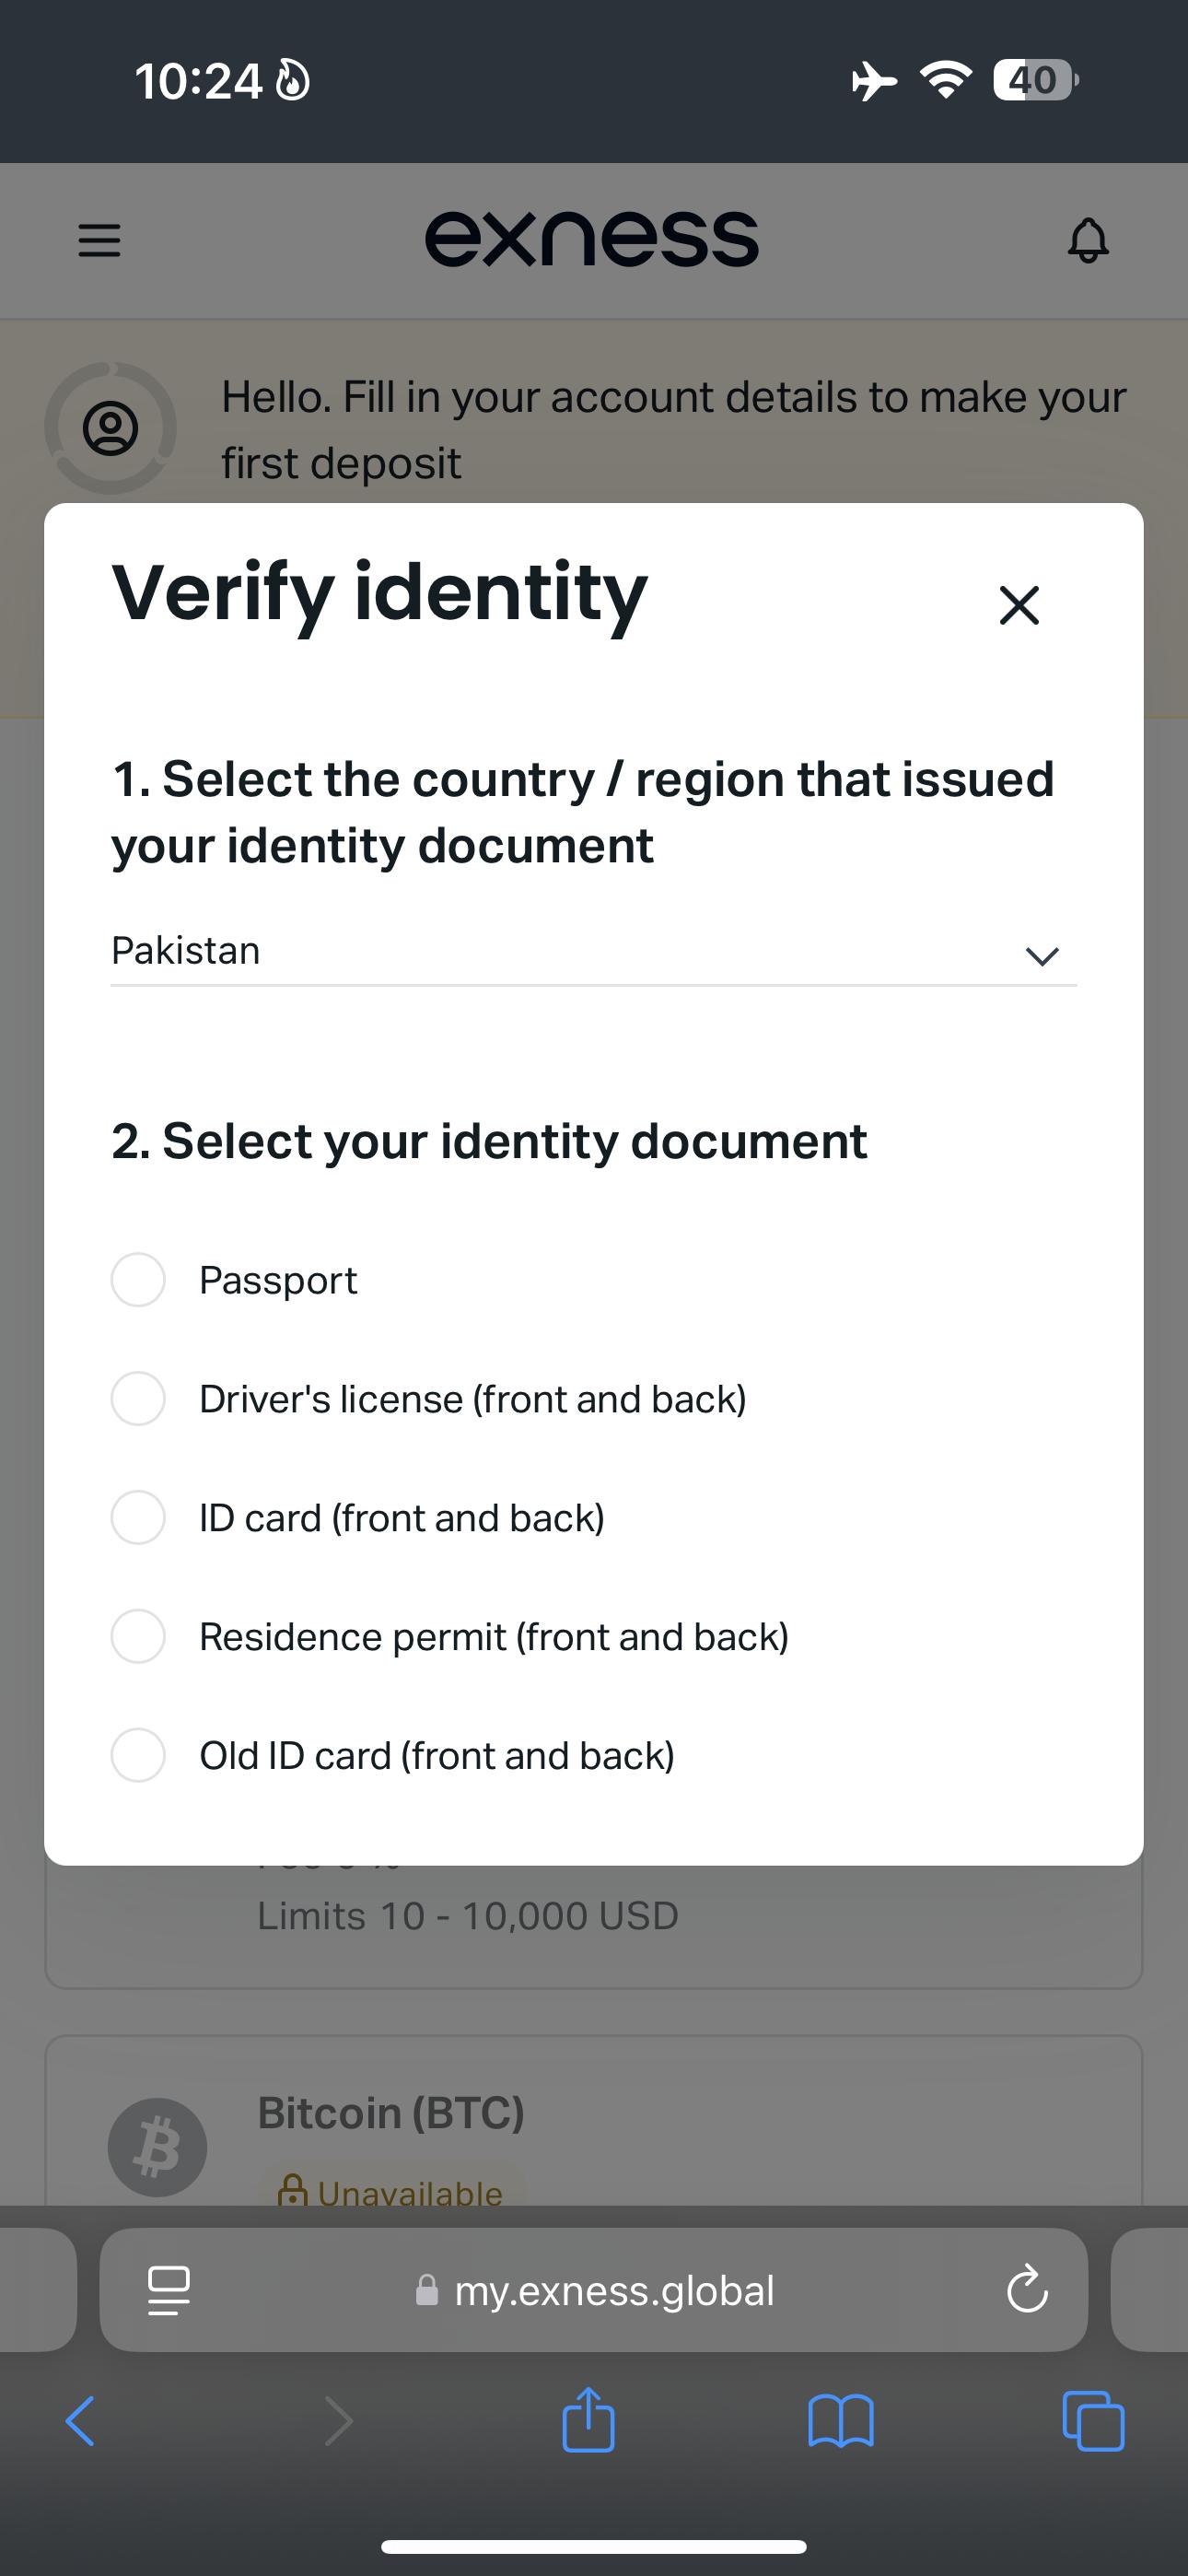
From your Personal Area, go to the Profile or Verification section. Exness requires identity verification to unlock full deposit, withdrawal, and trading capabilities.

Step 15 — Start KYC verification
16
KYC

Select Your Document Type

Choose your identity document type. National ID Card is the recommended and fastest-processed option. Passport and Driver's License are also accepted alternatives.

Step 16 — Select document type
17
KYC

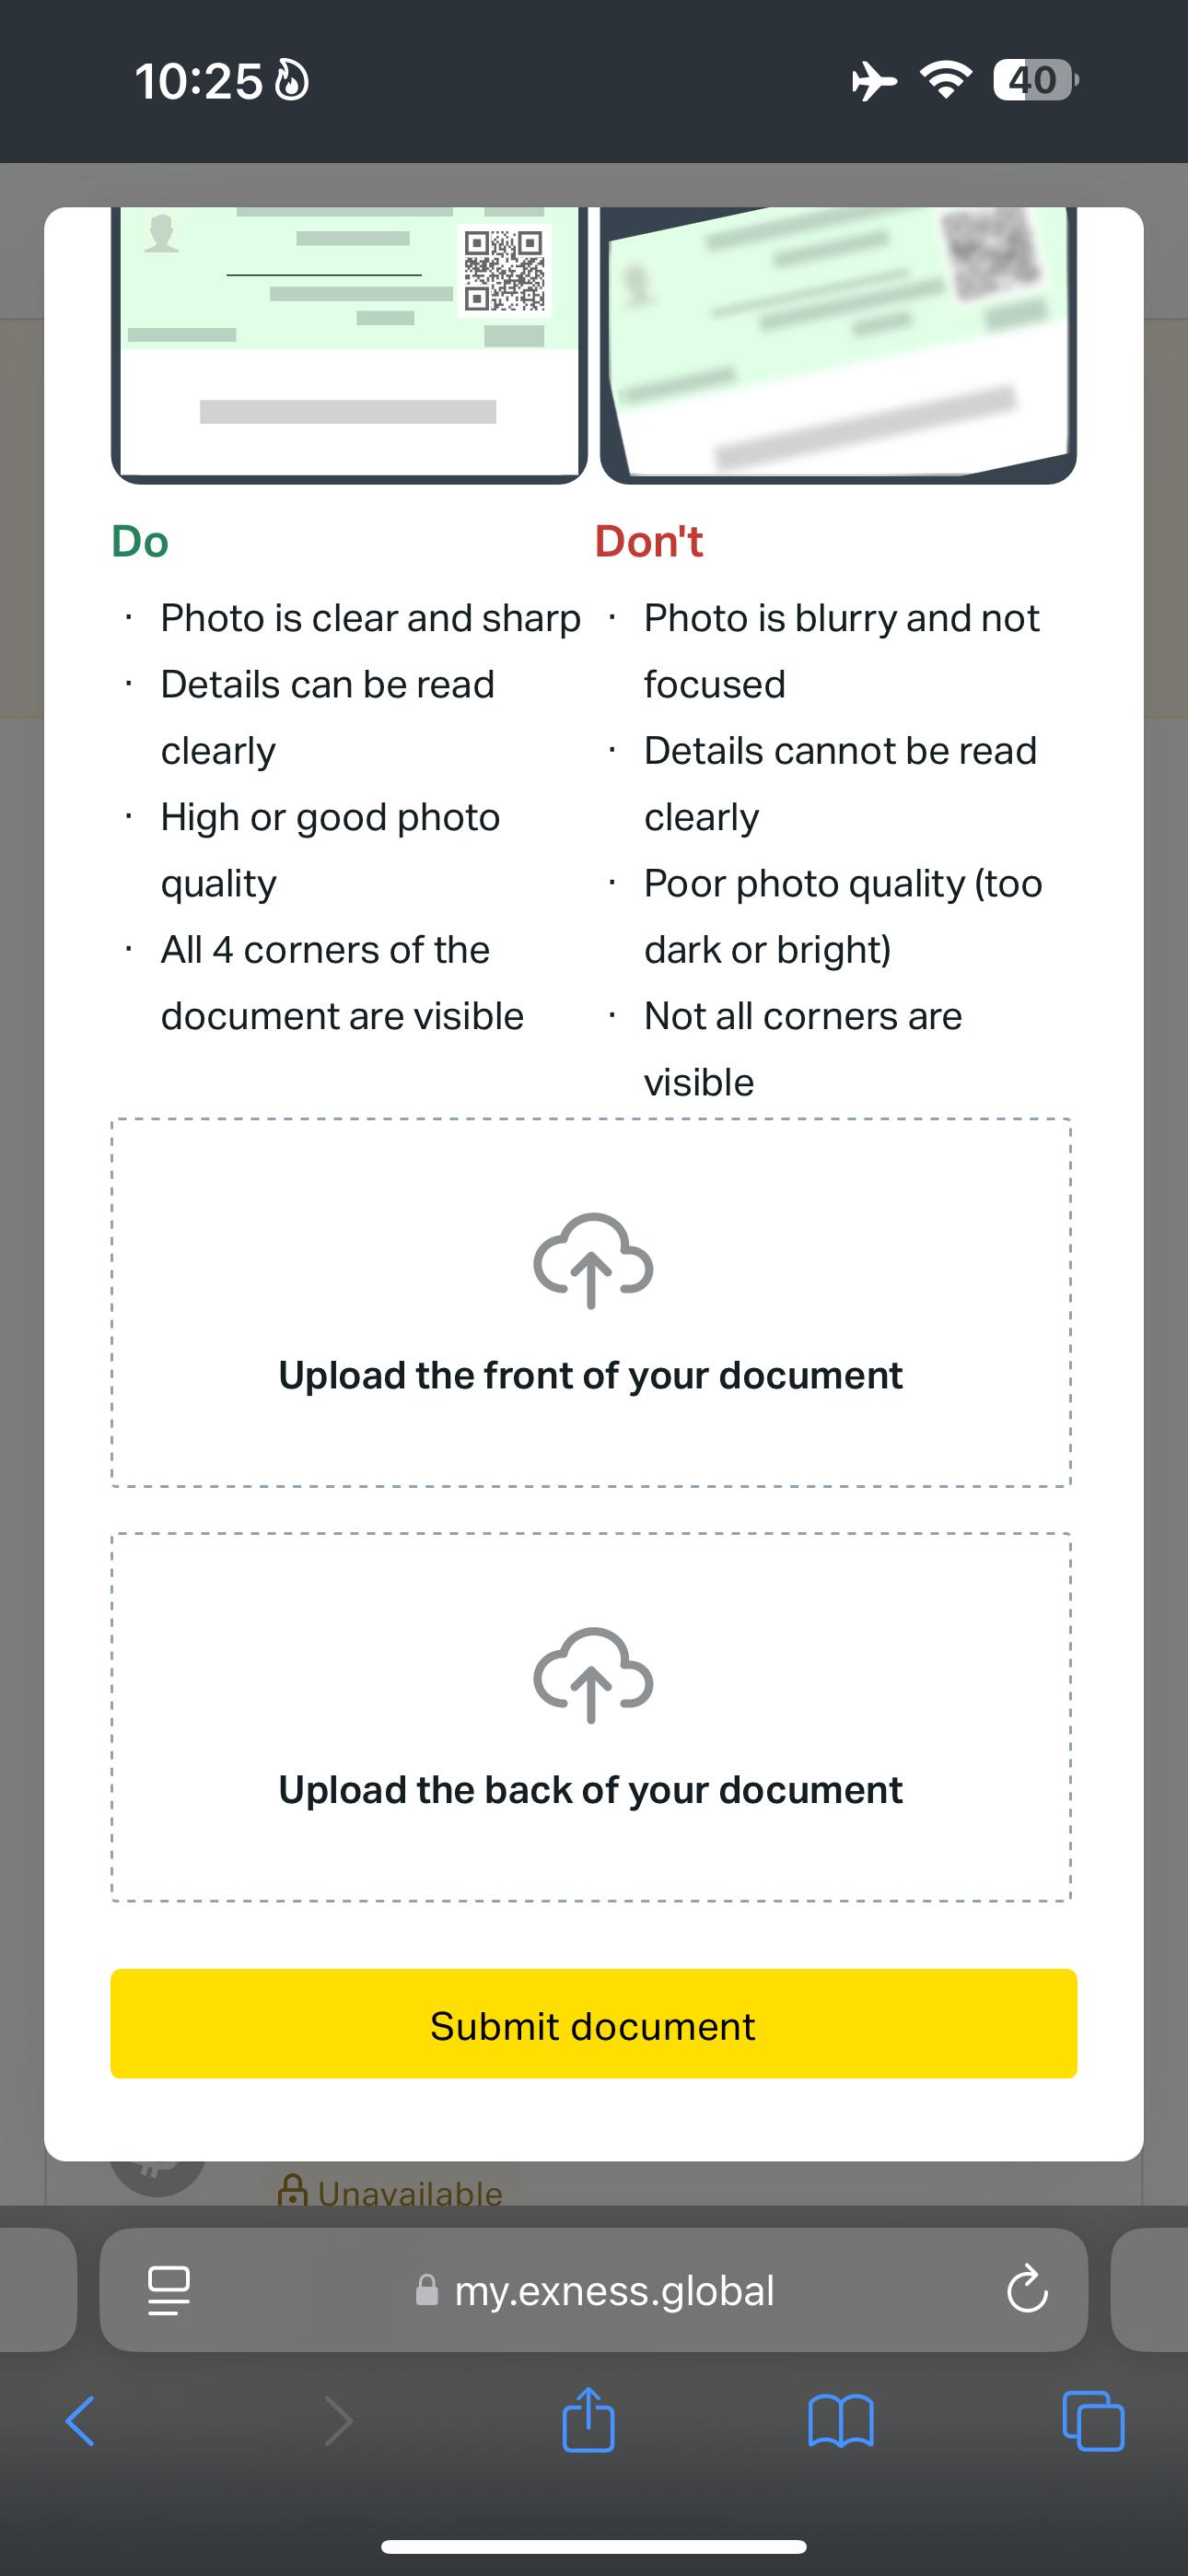
Upload ID Card — Front Side

Take or upload a clear photo of the front of your National ID Card. All four corners must be visible. The card should be on a plain dark background with good natural lighting.

No glare, no shadows, no cut corners — the full card must be clearly visible.
Step 17 — Upload ID front side
18
KYC

Upload ID Card — Back Side

Upload a clear photo of the back of your National ID Card with the same quality requirements. Both sides are mandatory for successful ID verification.

Step 18 — Upload ID back side
19
KYC

Take Your Selfie Photo

Follow the on-screen instructions to take a selfie. Ensure good frontal lighting, a neutral background, and that your face is clearly visible. Remove sunglasses or hats.

Some regions require a selfie with your ID held next to your face.
Step 19 — Selfie photo verification
20
KYC

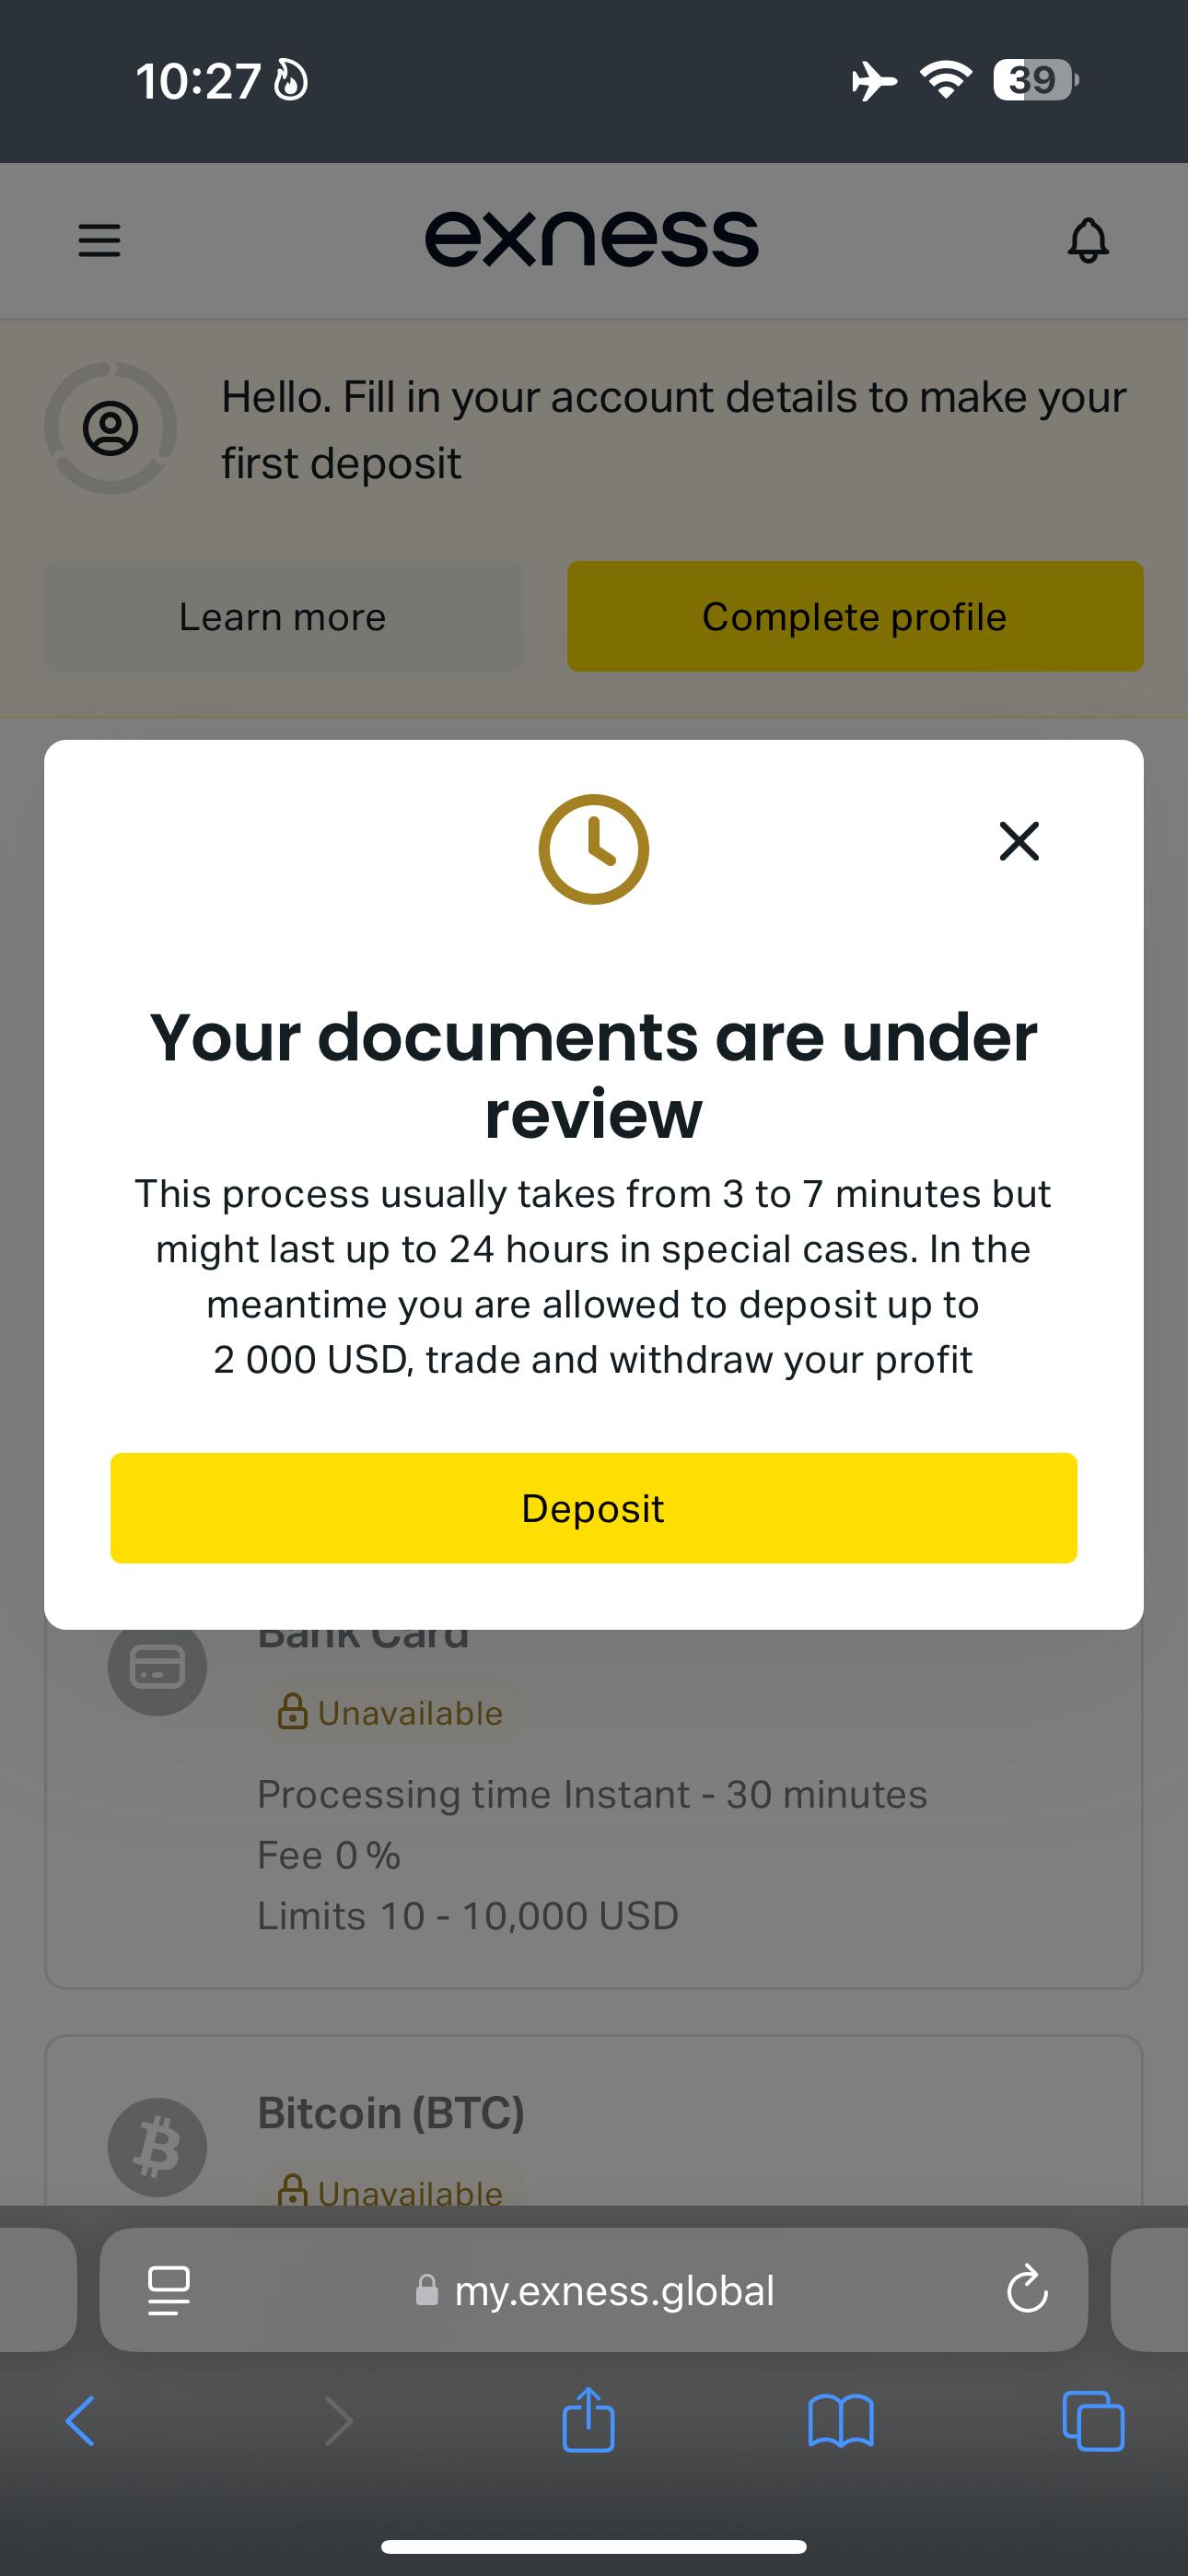
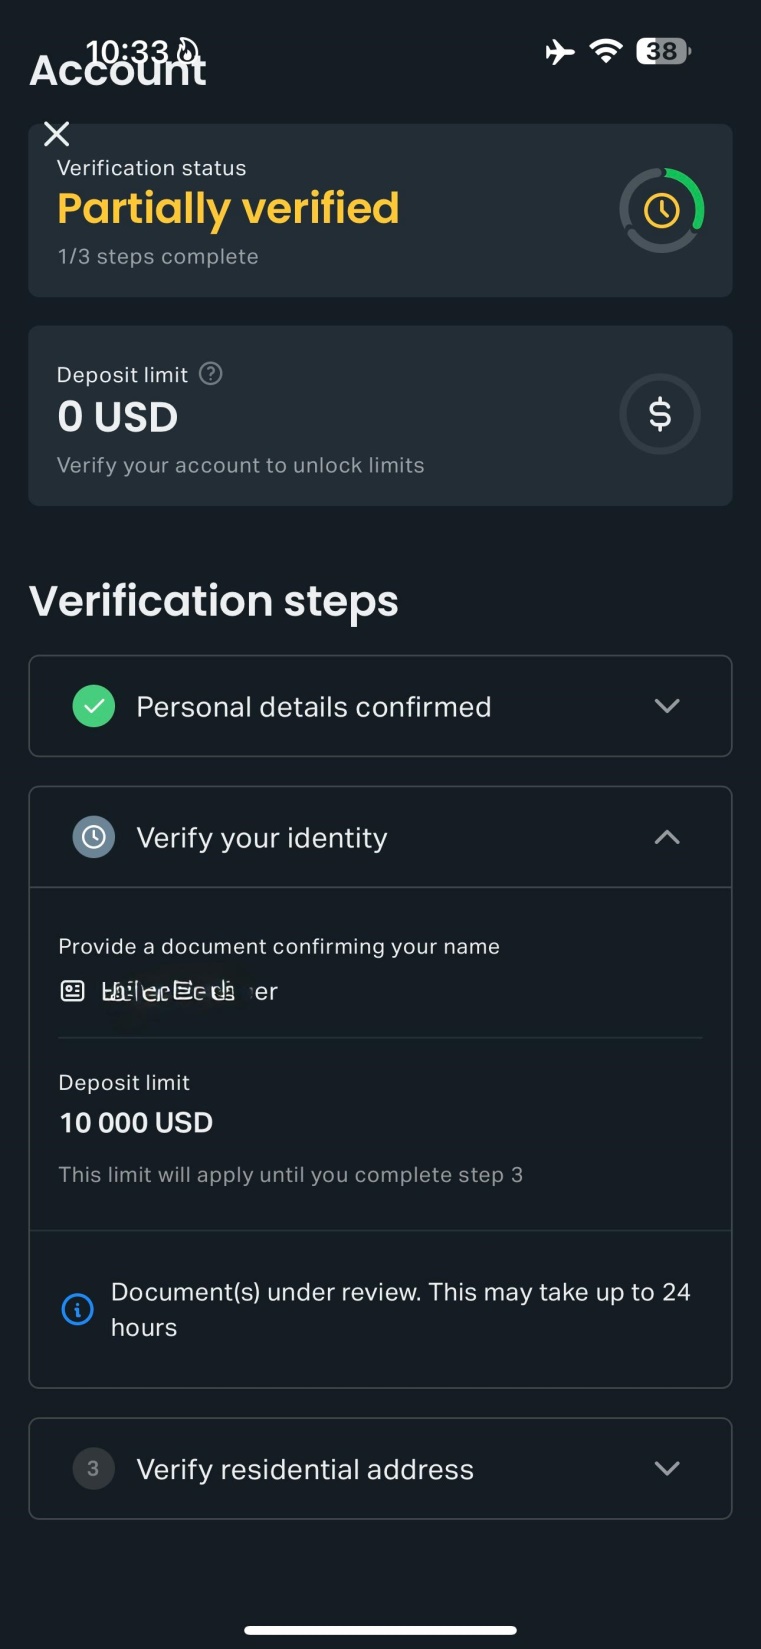
Verification Submitted

Your documents are now submitted. Exness typically processes KYC verification within a few hours — often within 30 minutes. You'll receive a confirmation email once approved.

Step 20 — Verification submitted
4

Create Your Trading Account & Make Your First Deposit

Set up your first live trading account, choose your account type, leverage, and currency — then fund the account using your preferred payment method.

Steps 21 – 26
21
Trading Account

Access Your Personal Area

Log in to your Exness Personal Area (pa.exness.com). This is your central dashboard for creating accounts, managing funds, viewing statements, and accessing platform downloads.

Step 21 — Personal Area dashboard
22
Trading Account

Create a New Trading Account

Click the "New Account" or "Open New Account" option. You'll be prompted to choose a platform (MT4 or MT5) and an account type. Beginners should start with MT4 and Standard account.

Step 22 — Create new trading account
23
Trading Account

Select Account Type & Set Leverage

Choose Standard for beginners — no commission, floating spreads, suitable for all pairs. Set your leverage (1:100 is a balanced starting point) and choose your base currency (USD recommended).

Leverage can be changed later from your account settings.
Step 23 — Select account type and leverage
24
Deposit

Navigate to Deposit Funds

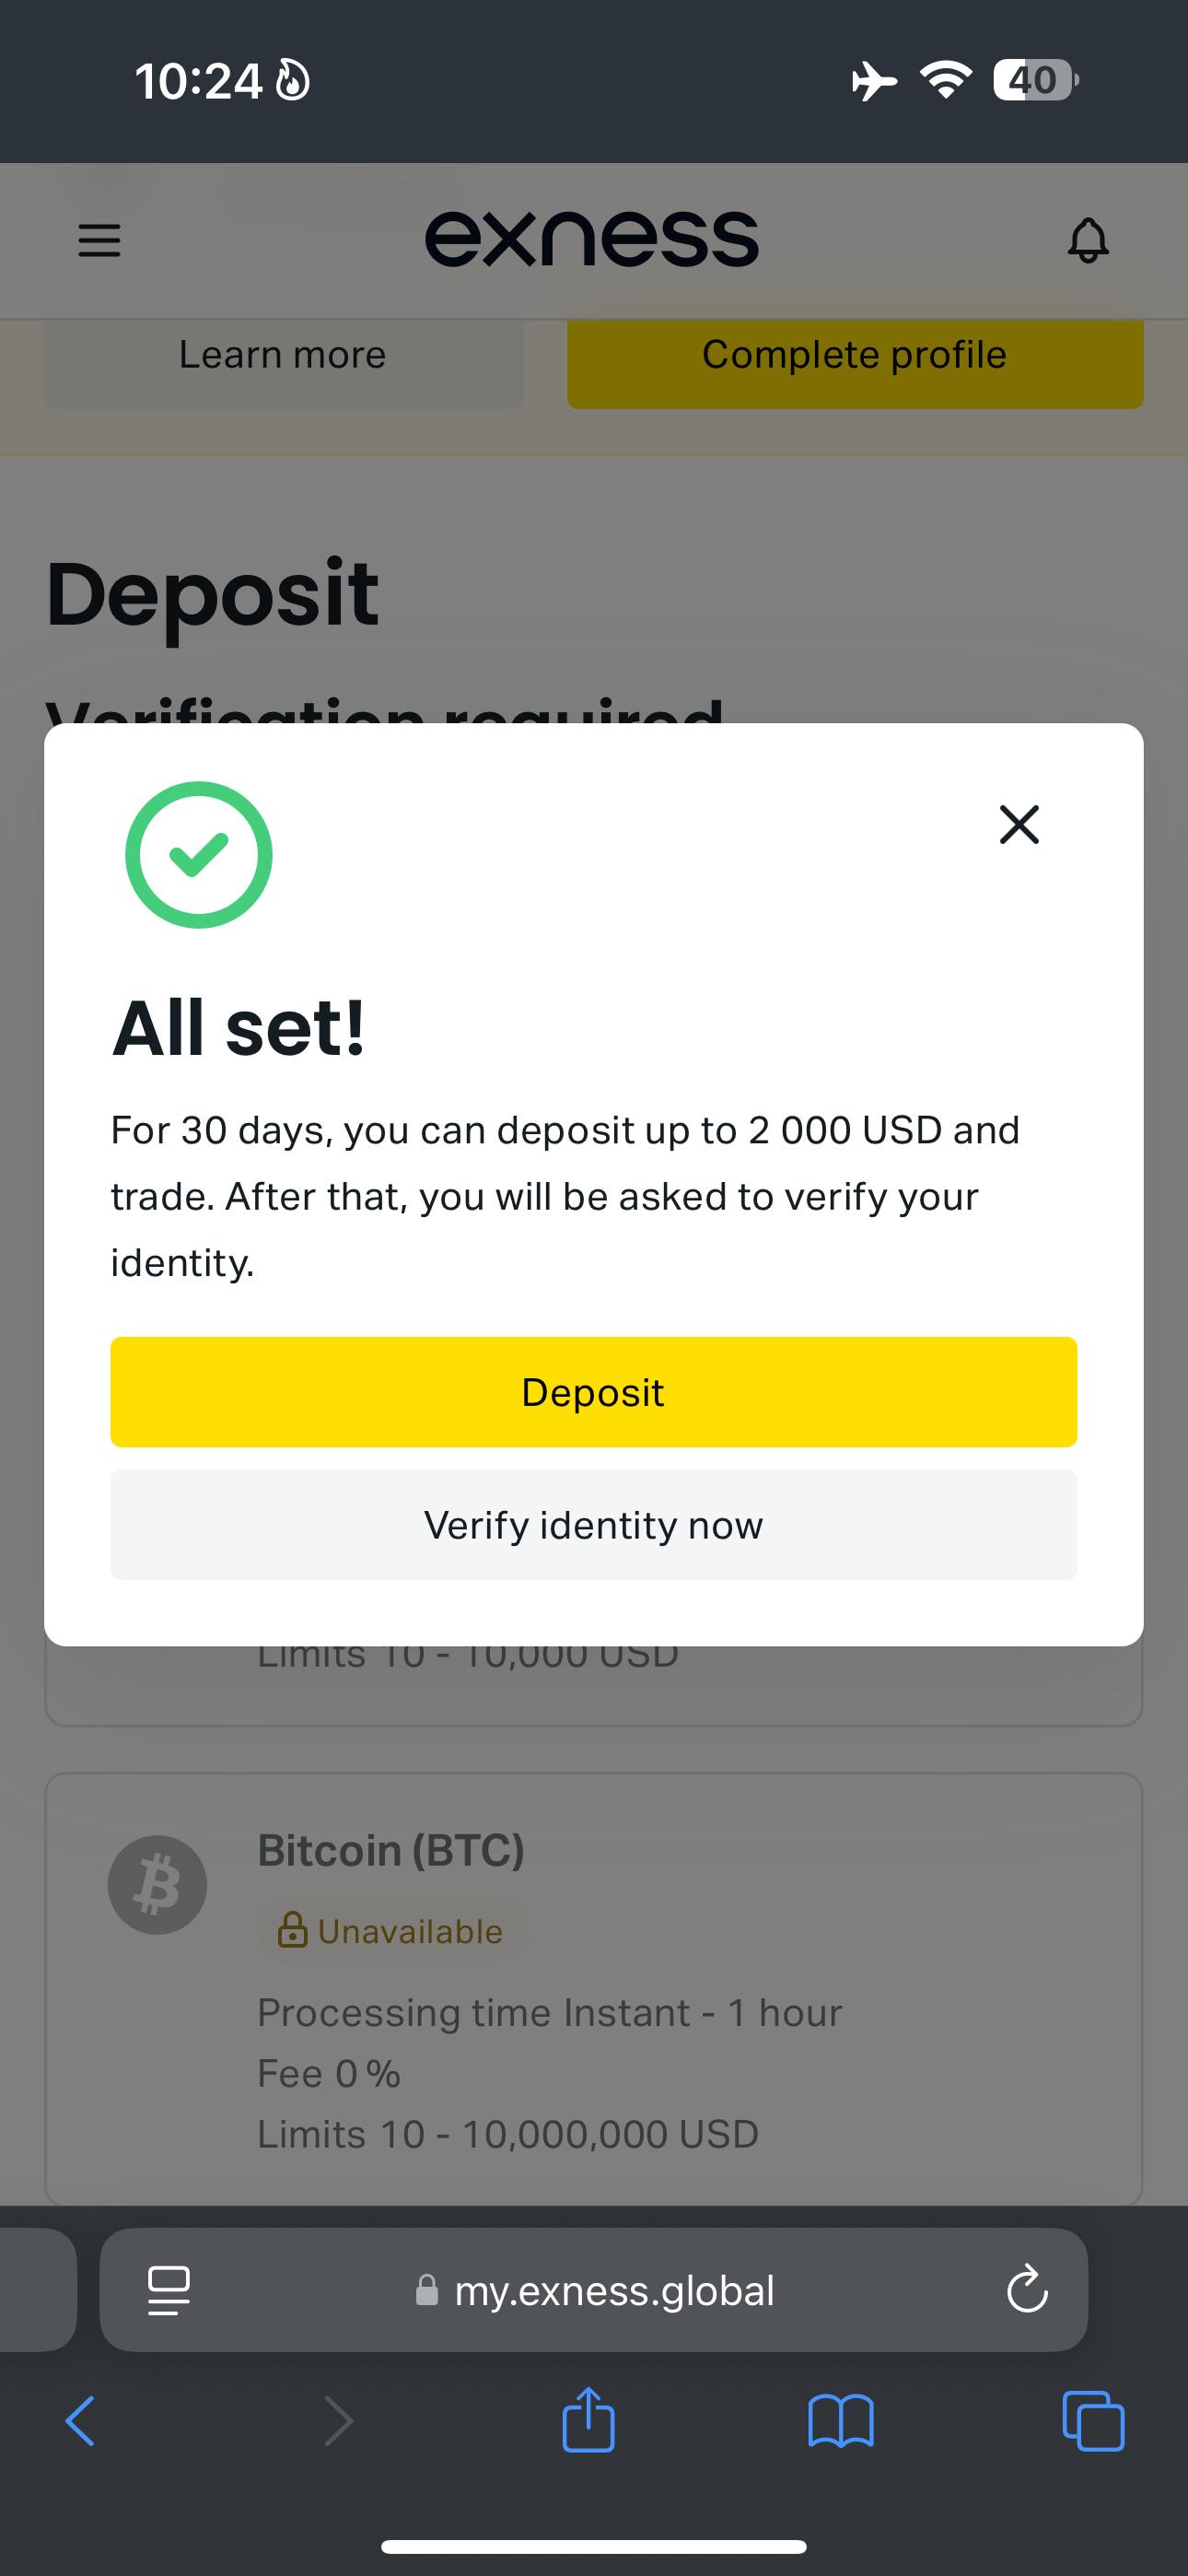
From your Personal Area, click "Deposit" next to your newly created trading account. This opens the deposit page where you select your payment method and amount.

Step 24 — Navigate to deposit
25
Deposit

Choose Your Payment Method

Exness supports a wide range of payment options. Select the method that suits you — local bank transfer, JazzCash, Easypaisa, or international options. Processing times vary by method.

Step 25 — Choose payment method
26
Deposit

Enter Amount & Confirm Deposit

Enter the amount you wish to deposit. There is no minimum deposit on Standard accounts. Follow the payment gateway steps, complete the transaction, and wait for confirmation.

Most local payment methods credit instantly or within 15 minutes.
Step 26 — Enter deposit amount and confirm
5

Download Platform & Start Trading

Download MetaTrader on your device, log in with your account credentials from the Personal Area, and select the correct Exness server. Your live trading account is now active.

Steps 27 – 30
27
Platform

Download MetaTrader (MT4 or MT5)

From your Personal Area, go to the "Download" section and install MetaTrader 4 or MetaTrader 5 on your device. Both platforms are available for Android, iOS, and desktop (Windows/Mac).

Step 27 — Download MetaTrader platform
28
Platform

Install & Open the Platform

Install MetaTrader from the App Store, Play Store, or the official Exness download link. Once installed, open the app and proceed to the login screen.

Step 28 — Install and open MetaTrader
29
Platform

Enter Your Login Credentials

Go back to your Exness Personal Area and find your trading account login (account number) and password. Enter these into MetaTrader along with the correct Exness server name.

Your trading account password is different from your Personal Area password.
Step 29 — Enter login credentials
30
Complete

You're Live — Start Trading!

Congratulations. Your Exness live trading account is now fully active and linked to MetaTrader. Your balance is visible, markets are live, and you are ready to execute your first trade.

Contact your ZTU instructor on WhatsApp to confirm your account is linked correctly.
Step 30 — Account active, ready to trade
Ready to Begin

Open Your Account & Unlock Every Benefit

Join through our official link to activate your free books, indicators, signal group access, and 20% course discount — all included when you register with Z Trade University.

Regulated Broker
30-Step Verified Guide
ZTU Community Support
No Minimum Deposit